This post may include affiliate links.
If you make a purchase, I'll earn a small fee at no extra cost to you.
I love all the goodies in the gardening and seed catalogs, but most of the time, they’re just too expensive. Seriously…$159 for a seed starting light? Who has that kind of money to throw around?
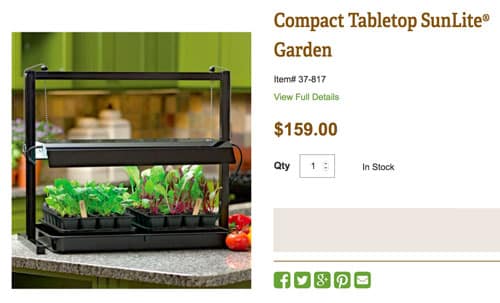
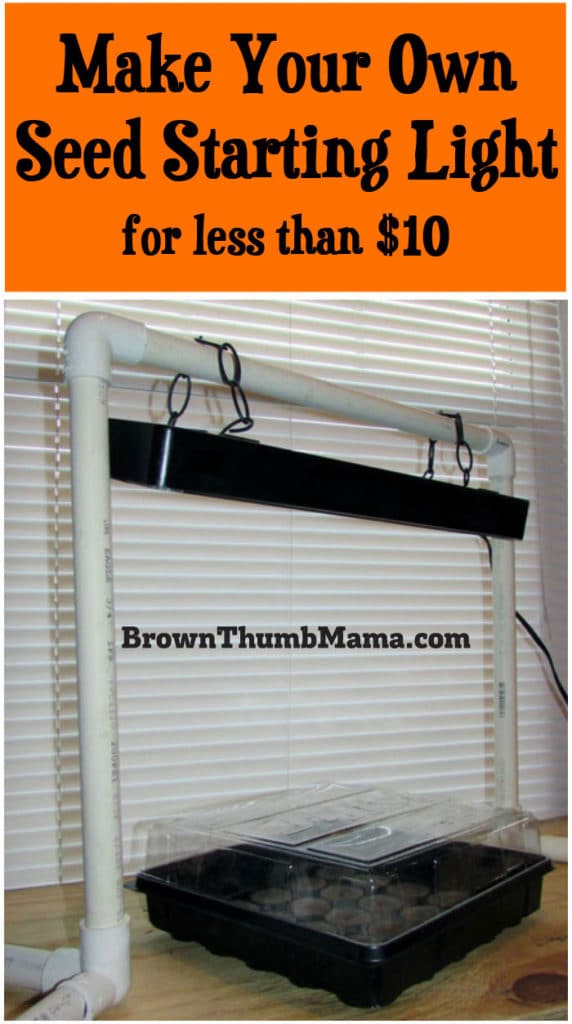
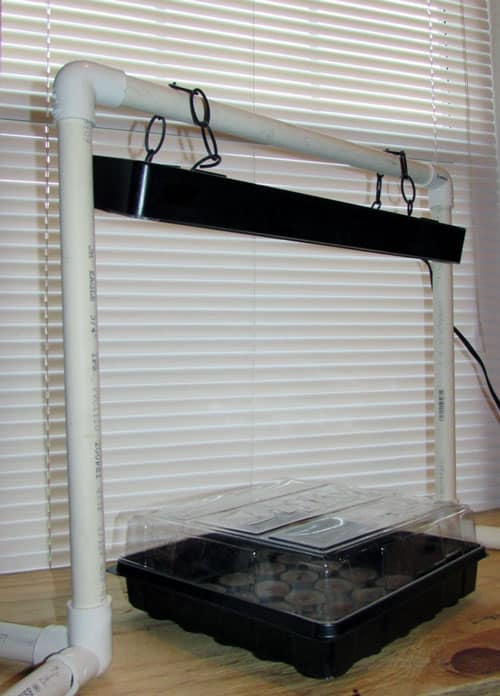
In my typical “make it, don’t buy it” fashion, I decided to build my own seed starting light. If you look at the contraption above, it consists of a simple support structure for the light and the grow light itself. This isn’t hard to make at all!
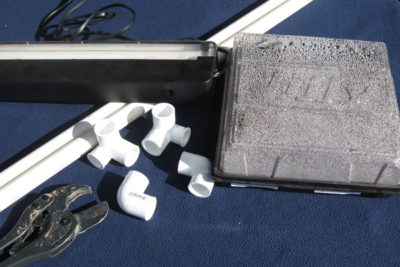
After a bit of searching in the garage, I located all the pieces I needed for an inexpensive, DIY seed starting light.
Seed Starting Light: Supply List
Fluorescent fishtank light (I’ve seen these at thrift stores and yard sales for $5 or less)
3 pieces of 3/4″ PVC pipe
2 L-connectors for 3/4″ PVC pipe
2 3-way connectors for 3/4″ PVC pipe
PVC cutter (I like this one)
Chain or zip ties for securing the light to the support
Seed starting tray (this is my favorite)
Seed Starting Light: Instructions
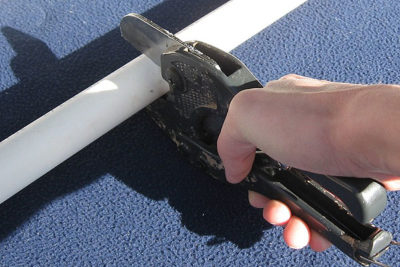
Cut the top piece that the light will hang from. It should be at least an inch wider than the light itself.
Cut the “legs” of the support in equal lengths that are at least 18 inches long. Having longer legs will give your seedlings room to grow (you can always put the seed starting tray on a box to bring it closer to the light).
For support, cut 4 small “feet” that are 4-6 inches long. They will provide stability and keep your seed starting light from tipping over.
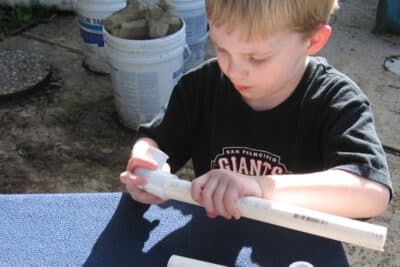
After cutting everything to the correct length, have your helper slide the L-connectors onto the tops of the “leg” pieces.
Don’t use PVC glue! The chemicals in it are nauseating, and you won’t be able to take your grow light apart for storage if it’s all glued together.
If you happen to leave for a moment, you’ll return to find Neighbor Kitty inspecting your handiwork.
He’ll rub on every single piece of PVC pipe so you know that they all belong to him. 🙂
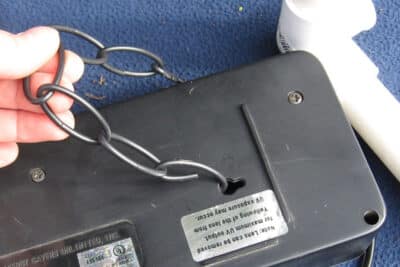
Use a bit of chain (or zip ties) to attach the light to the top support piece.
Slip the “feet” into the sides of the 3-way connectors and then put the “legs” into the top pieces. Put the top support piece into the L-connectors and confirm that the structure is stable.
Hook the light over the top support piece and you’re done!
I set mine up in a sunny window and used a timer so my seedlings would get 12 hours of light each day. In a couple of months, I’ll move the tiny plants to our front yard garden.

