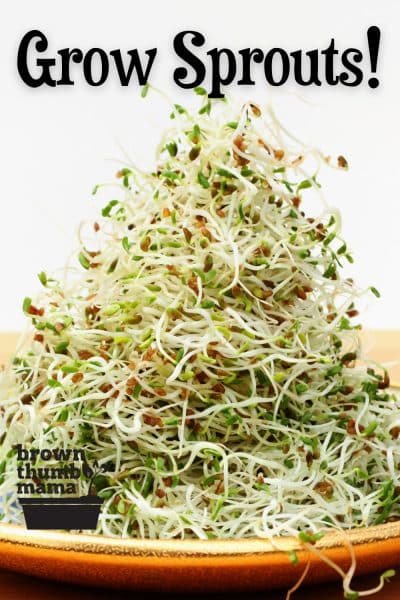
It’s easy to grow sprouts and you don’t need any special equipment. These simple instructions will help you grow alfalfa sprouts, broccoli sprouts, mung bean sprouts, mustard sprouts, and more.
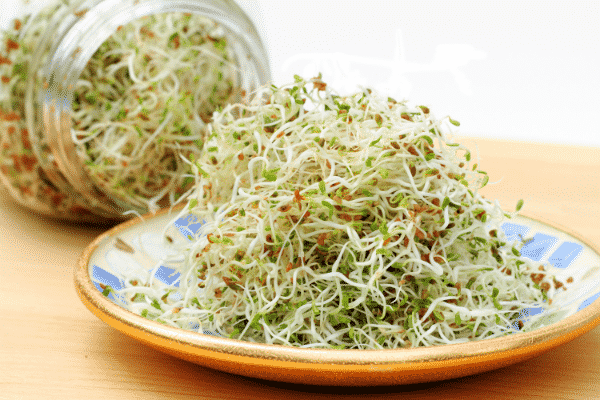
Ok, show of hands. How many of you think that here in California, we put avocado and sprouts on everything we eat?
*peers out of computer screen*
Just as I suspected…99% of you think we eat sprouts 24/7! We do love our sprouts here in California. I’m not so crazy about the avocados, but that’s a story for another day.
Sprouts are delicious on sandwiches, wraps, in salads and stir-fry…even on avocado toast. If you’re an avid sprout-eater, you know that these crunchy little taste treats are often recalled from the grocery stores for possible contamination. The great news is that it’s easy to grow sprouts indoors and you don’t need any special equipment.
Here’s everything you need to know to grow sprouts indoors–these instructions will work for alfalfa sprouts, broccoli sprouts, mung bean sprouts, mustard sprouts, and all others.
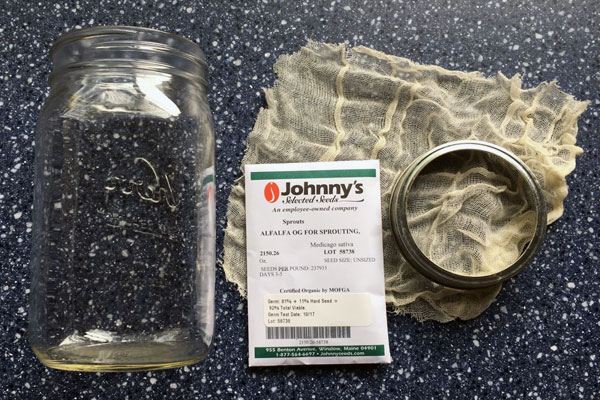
All you need is a large canning jar, a piece of cheesecloth or mesh, and seeds that are specifically designed for sprouting. You want to use sprouting seeds to ensure that they haven’t been treated with chemicals or contaminated in any way.
Your canning jar needs to be clean and sterile. You don’t need to boil it, but you should run it through the dishwasher just to make sure that there’s no gunk or random cupboard dust bunnies in it.
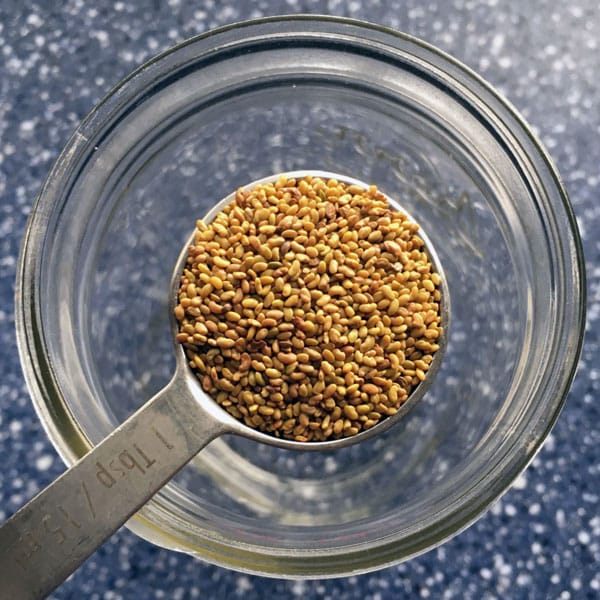
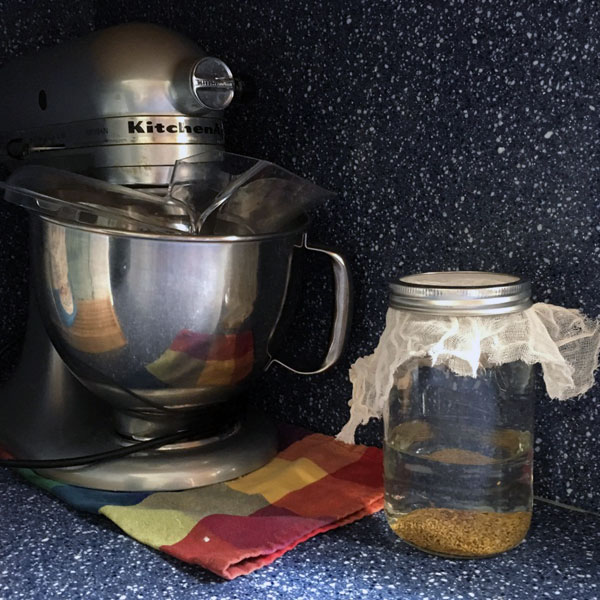
Measure 1 Tablespoon of seeds (these are alfalfa seeds), and pour them into your jar. It doesn’t seem like enough seeds, but they are going to grow like crazy.
Cover the seeds with room-temperature water, about halfway up the side of the jar. Place the cheesecloth on top and close with the canning ring.
Let the seeds soak in a cool, dark place for 8-12 hours. I put mine in the corner with my KitchenAid mixer, and let it sit overnight.
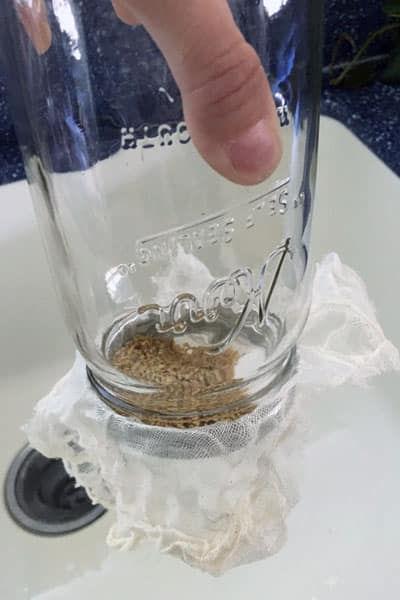
The next day, drain the water. You don’t even have to take the cheesecloth lid off. Add water again, right through the cheesecloth, and swish the seeds around. Then drain the water out. Some of the water will catch in the canning jar lid, so turn the jar completely upside down and gently shake it so that the excess water drains.
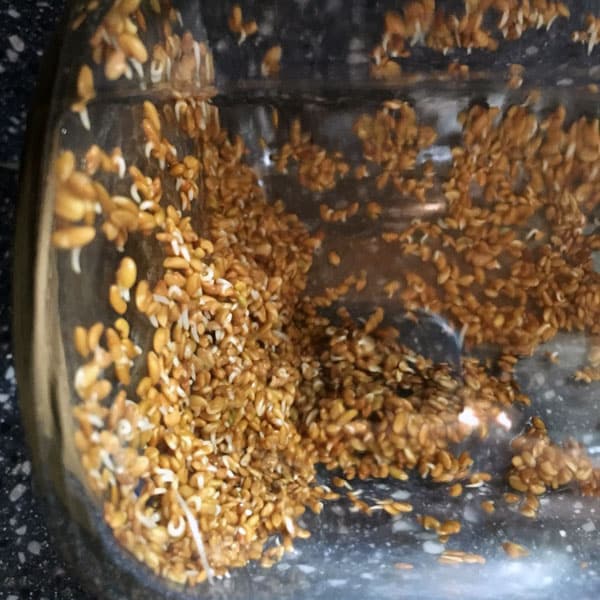
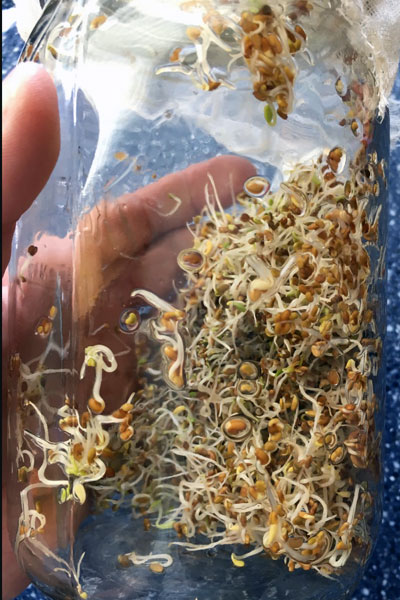
Lay the jar on its side in a cool dark place. Each day, you’ll rinse the sprouts and drain the water out. Here’s day one. See those tiny white squiggles? They’re sprouting!
On day two, after rinsing and draining:
Day three:
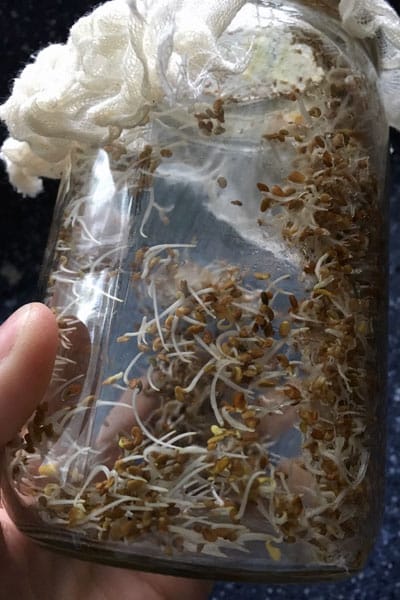
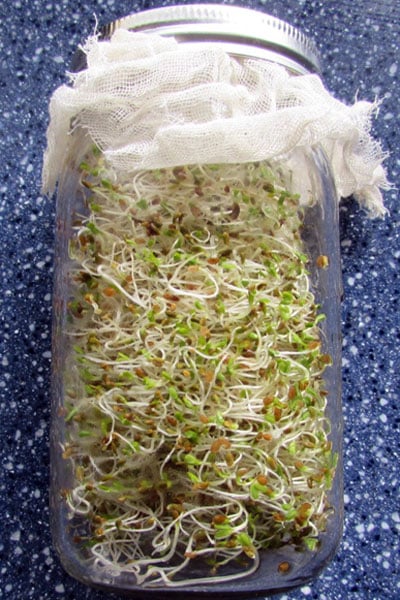
Annnnnd…day five:
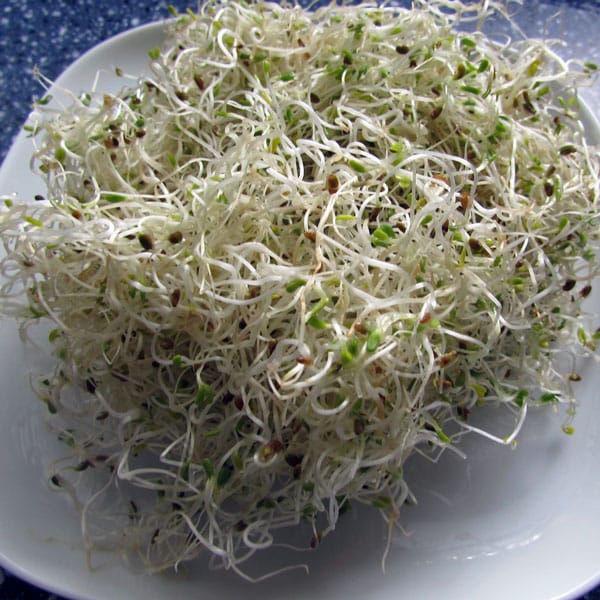
Whoa! That little tablespoon of seeds sure went to town, right? You now have about 2 cups of sprouts from your tablespoon of seeds.
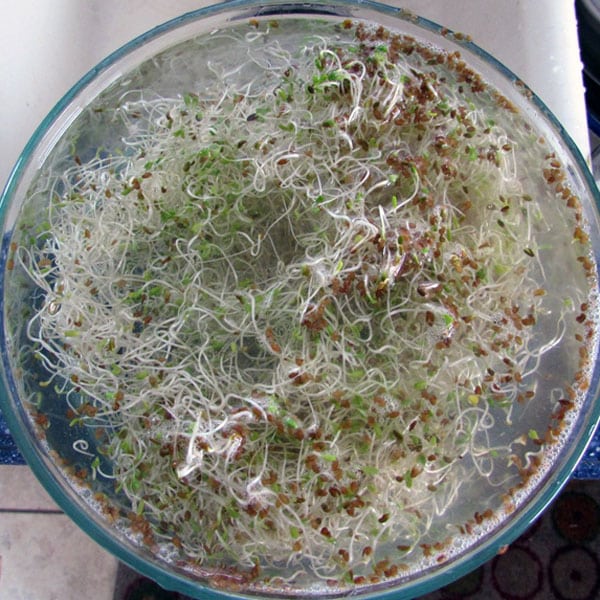
There will be some seeds that did not sprout. They are edible, but removing them will prevent any potentially tooth-breaking surprises when you’re eating.
You can put the sprouts in a strainer to rinse out the unsprouted seeds, or you can fill a bowl with water and let them float off the top.
Pretty cool, right? Now you have sprouts for tons of different uses, and you don’t have to worry about contamination or expense.
A packet of organic sprouting seeds costs about $3.50, and it will make between 8-10 cups of sprouts. That works out to about 35-45 cents per cup. If you were to buy alfalfa sprouts at the store, you would pay $3.99 for half a cup of sprouts!
Your sprouts will keep in the fridge for about a week. I recommend starting a new batch every 4-5 days so you never run out.
If you love sprouts but don’t have lots of canning jars, there are several different sprouting gizmos you can buy. Some of them are cooler than others.
For the love of Pete, please don’t buy the “110V Electronical Seed Sprout Maker.” Yes, it’s a real thing; and yes, it’s completely ridiculous.
Happy sprouting!




Ha! Your KitchenAid on a towel! Makes it easy to slide it out from and back into the corner. Thanks for the photo.
Where can I buy the seeds. Mail order
why can’t I print your sprout recipe?