There’s a specific time and a specific way to harvest garlic. Here’s how to harvest and store your garlic correctly so it won’t spoil or sprout before you can use it.
We’ve been growing garlic in our city backyard for many years, since J-man was a little sprout. It’s super-easy to grow! (Learn my garlic planting tips here.)
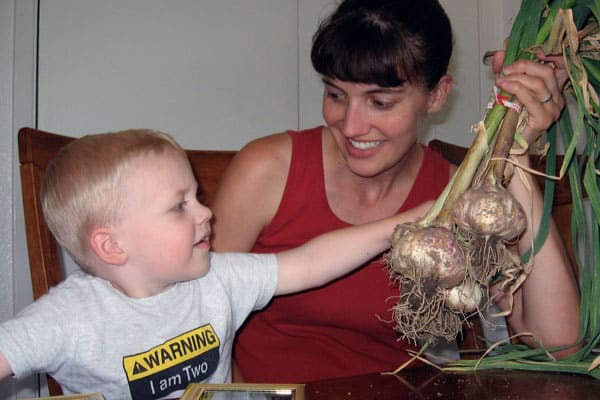
BUT: knowing when to harvest garlic can be tricky unless you know what to look for.
Unlike tomatoes, zucchini, or other garden vegetables, garlic bulbs grow completely underground. You can’t tell if the garlic is ready to harvest by looking at the bulbs…but the plant will give you several clues.
Let’s take a look at the garlic patch so you know what to look for.
Harvesting Garlic: What to Look For
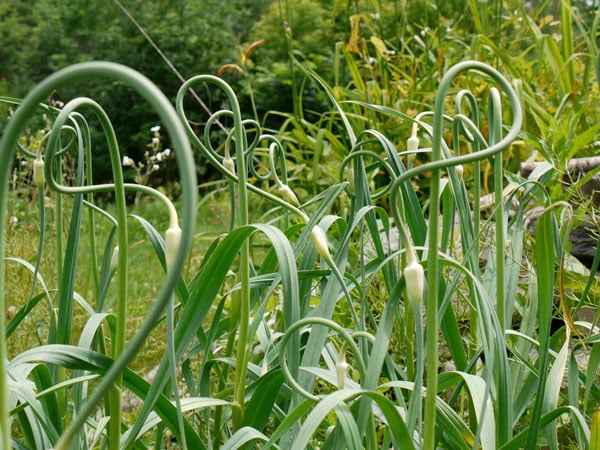
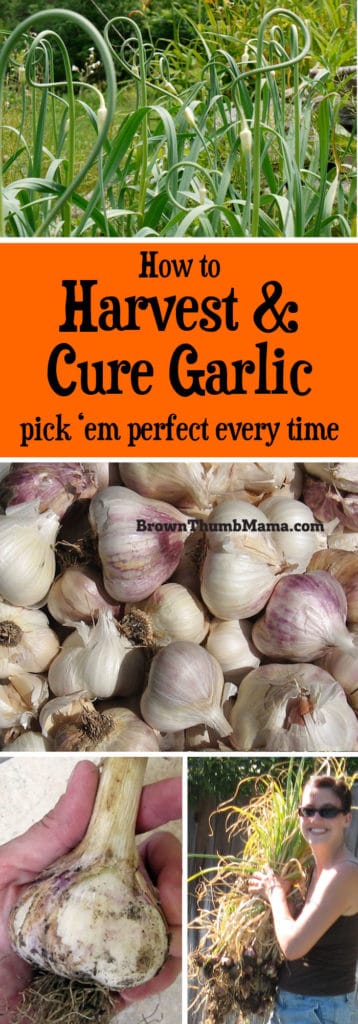
Your first clue are these little squiggles. These are garlic scapes, and will become flowers if allowed to grow.
Since we want the garlic to keep all its energy in the bulb (and not spend time growing flowers), we’re going to cut off the scapes. Use them like chives to give a gentle garlic flavor to scrambled eggs or stir-fry.
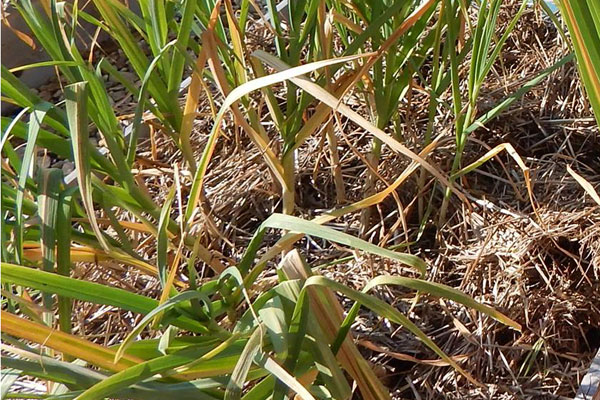
Next, you’re going to keep an eye on the leaves. When the bottom leaves start to turn brown, stop watering the garlic patch. This is usually 2-3 weeks after you’ve cut off the scapes. (Photo by my friends at Little Sprouts Learning.)
Your garlic will be ready to harvest about a week after that last watering. Here in Zone 9, my garlic is usually ready to harvest in early July.
Harvesting Garlic: Digging
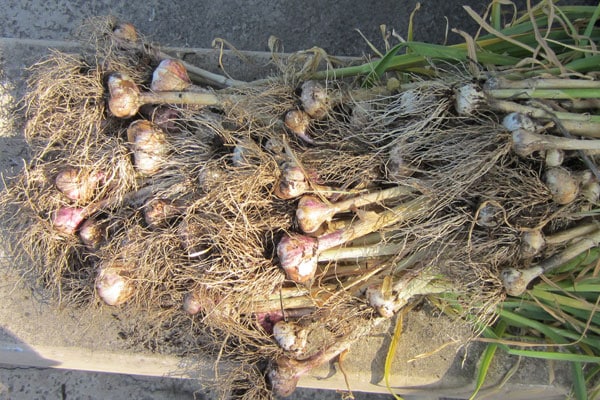
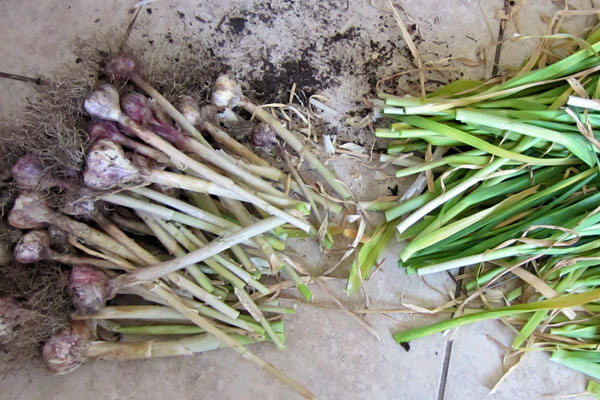
You might be tempted to harvest your garlic by pulling the leaves, like you do with carrots. However, I’ve found that this will just break the stems off and leave the bulbs underground. (FAIL)
As you can see, garlic roots are deep and strong. They’ll hang on to the soil and the leaves will give way first, you can guarantee it.
I’ve had the best success with using a shovel or fork and reaching down between the rows to lift the bulbs out gently.
Shake off the large clumps of dirt but don’t disturb the outer wrappers. I leave them outside in the shade for one day (if it’s under 90F outside) and then bring them in to complete the curing.
And for heaven’s sake, don’t wash them off! The moisture will make it much easier for fungus to get into the garlic and your crop will be ruined.
Curing Garlic
You want to cure the garlic for a while before you eat it. This will help concentrate the flavors and the garlic will keep longer without sprouting.
I used to bundle the garlic and hang it in the garage to cure. However, because the temperatures aren’t stable out there, it proved to be a bad idea.
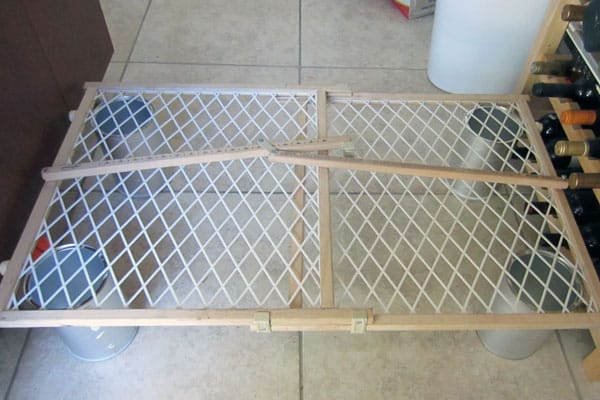
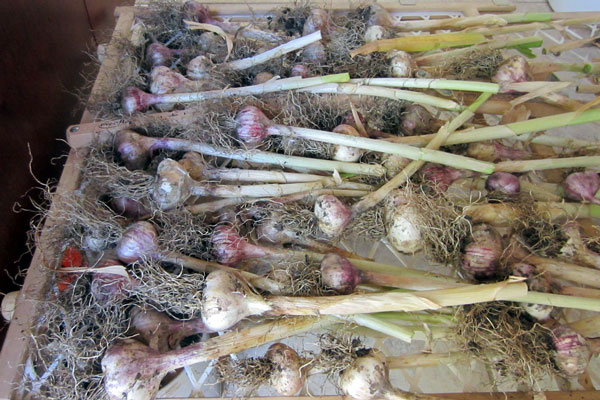
Now I use a homemade drying rack (that looks suspiciously like a baby gate) and it works perfectly.
It’s sitting a few inches off the ground so it has good air circulation, and is inside the house and out of the sun.
Before setting the garlic out to cure, dust off any chunks of dirt. Leave the roots and paper intact, and cut off the stems about halfway up.
Lay out the garlic in a single layer on the drying rack. It’s OK if the bulbs touch each other, but try not to pile them on top of each other.
Let the garlic sit on the drying rack, out of the sun, for about 2 weeks. (Your kitchen will smell amazing during this time.)
Storing Garlic
After the garlic has cured, trim the roots off and cut the stems down to storage length. Don’t trim them with scissors! Use clean pruners (these are my absolute favorites) so you don’t introduce any contaminants into your crop.
Reserve several of the largest cloves to plant next year (see my garlic planting advice here).
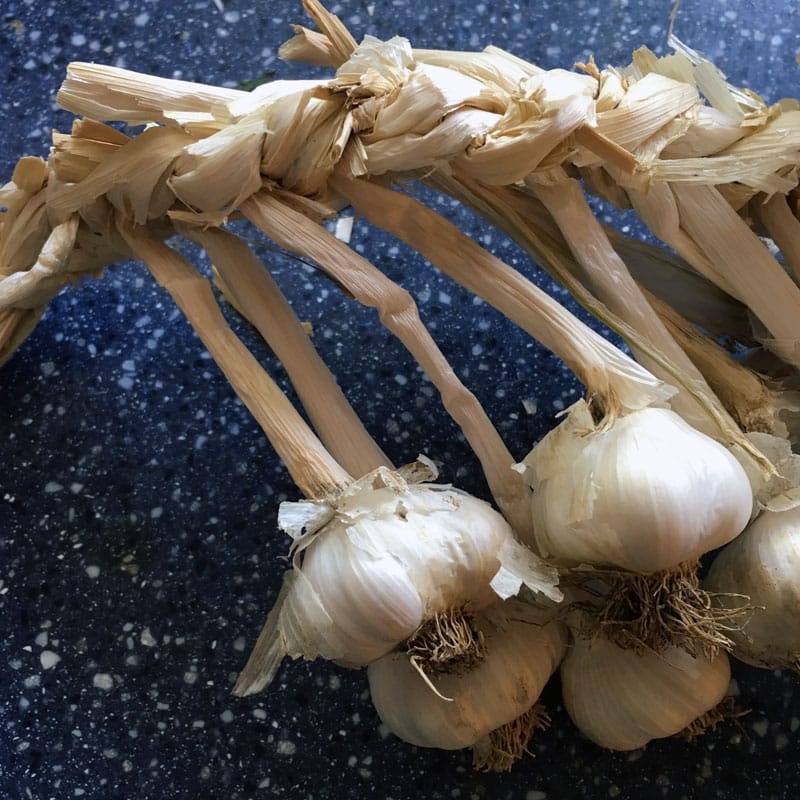
Your garlic will keep at room temperature for several months. You can even braid it and display it in your kitchen. How cool is that?!?

