Save money and ditch the chemicals with these homemade, reusable dryer sheets. These DIY dryer sheets are easy to make and even include a no-sew version!
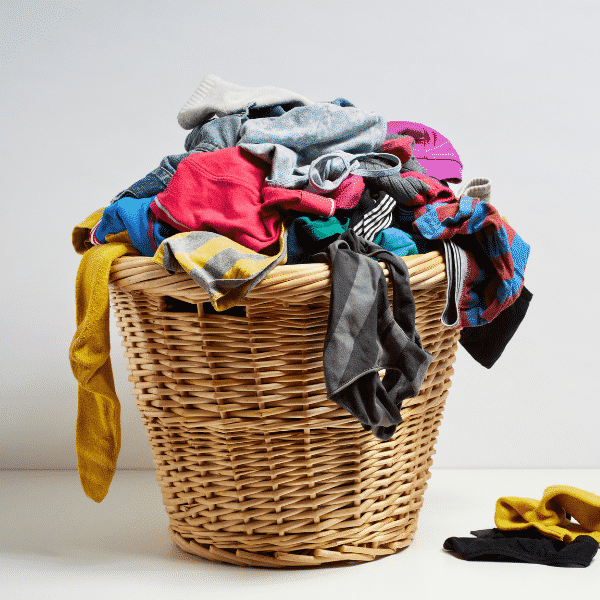
One of the (many) chores I got roped into as a kid was helping my mom do the laundry.
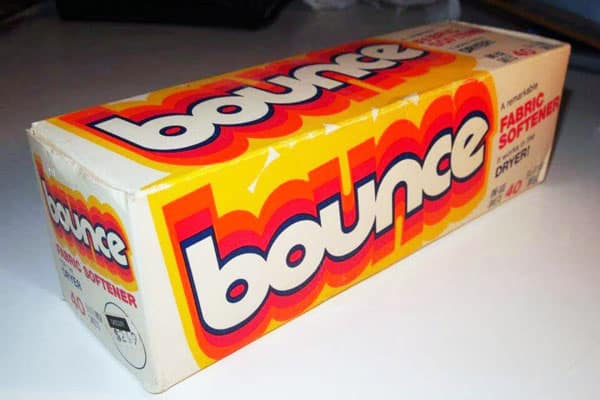
Guess what went into our avocado green dryer, along with every load of clothes? You guessed it: a crisp, fresh Bounce sheet.
They were new to the scene when I was little, and my folks thought they were amazing.
Once I was on my own, I got rid of dryer sheets for a couple of reasons. They’re really expensive, and they’re loaded with harmful chemicals and fragrances.
In fact, Bounce sheets are so full of junk they earned a health grade of “F” from Environmental Working Group. You should bounce them right into the trash!
Want more tested and trusted natural cleaning recipes? You deserve to have a clean house without sacrificing your health. Check out Natural Cleaning for Your Entire Home and start cleaning safely!
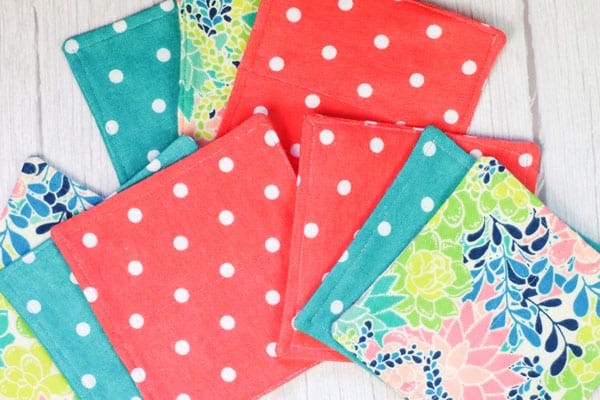
It’s easy to make your own dryer sheets, whether you can sew or not. You can make these from an old flannel sheet or flannel shirt.
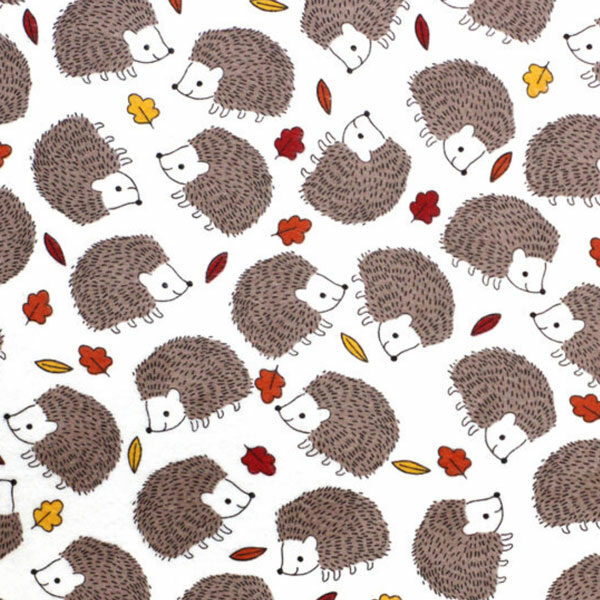
I’m making my next batch with this adorable hedgehog flannel.
See how easy it is to make homemade dryer sheets:

DIY Homemade Dryer Sheets
Save money and ditch the chemicals with these homemade, reusable dryer sheets. These DIY dryer sheets are easy to make and even include a no-sew version!
Materials
- Sewing machine
- ½ yard flannel fabric
- Matching thread
- Straight pins
- Fabric scissors
- Ruler
- Iron
- Pinking shears (for no-sew option)
Instructions
- Measure and cut 12 square pieces of fabric. Mine are about 5 inches square.
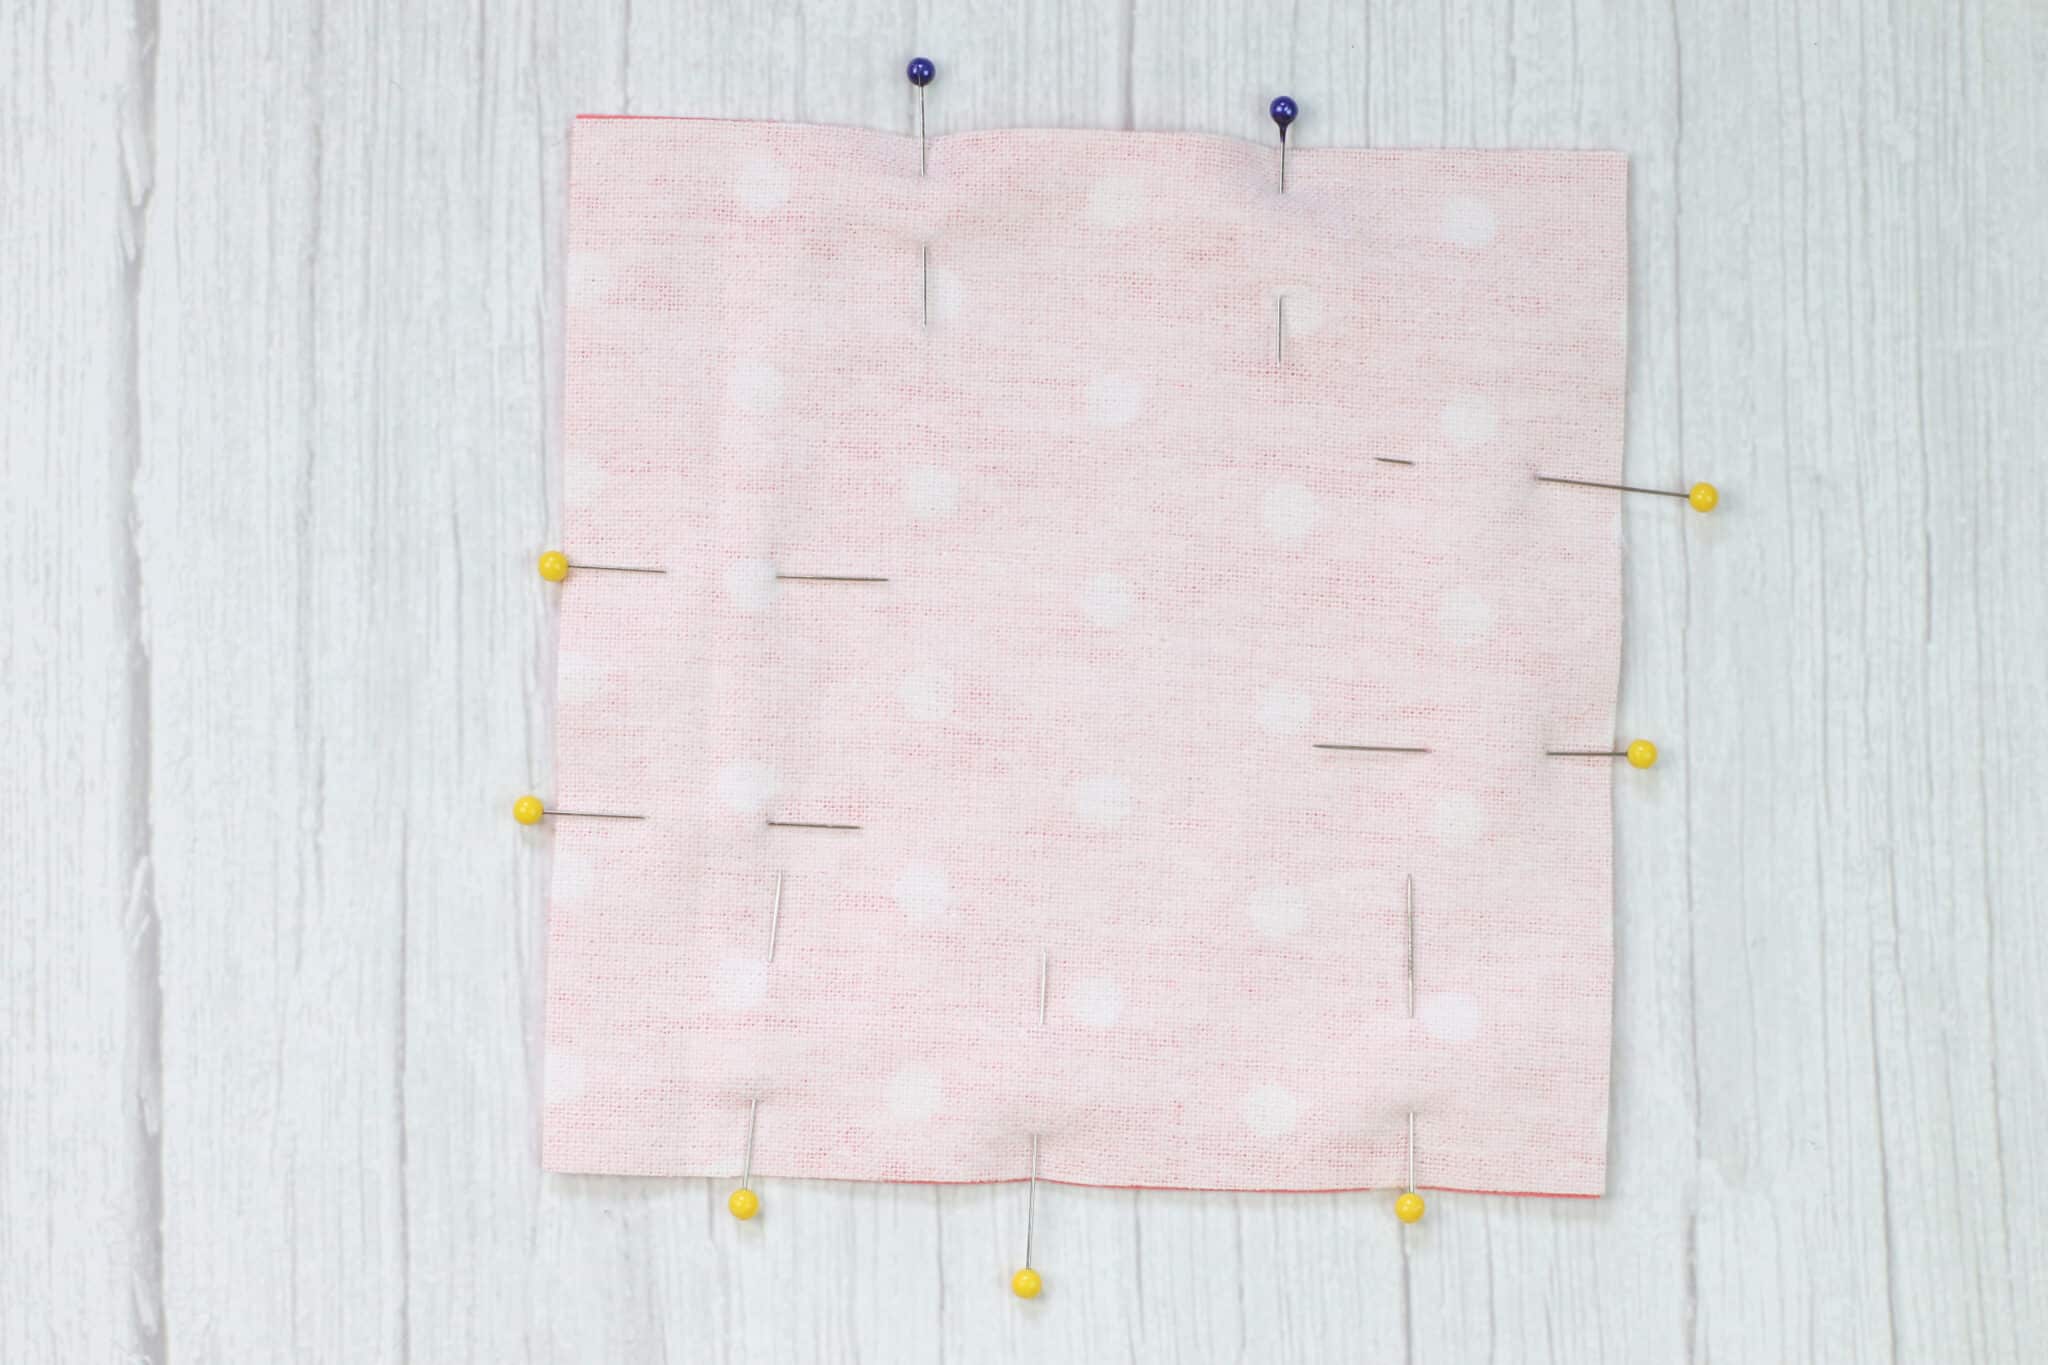
- Pin 2 pieces with the printed sides together.

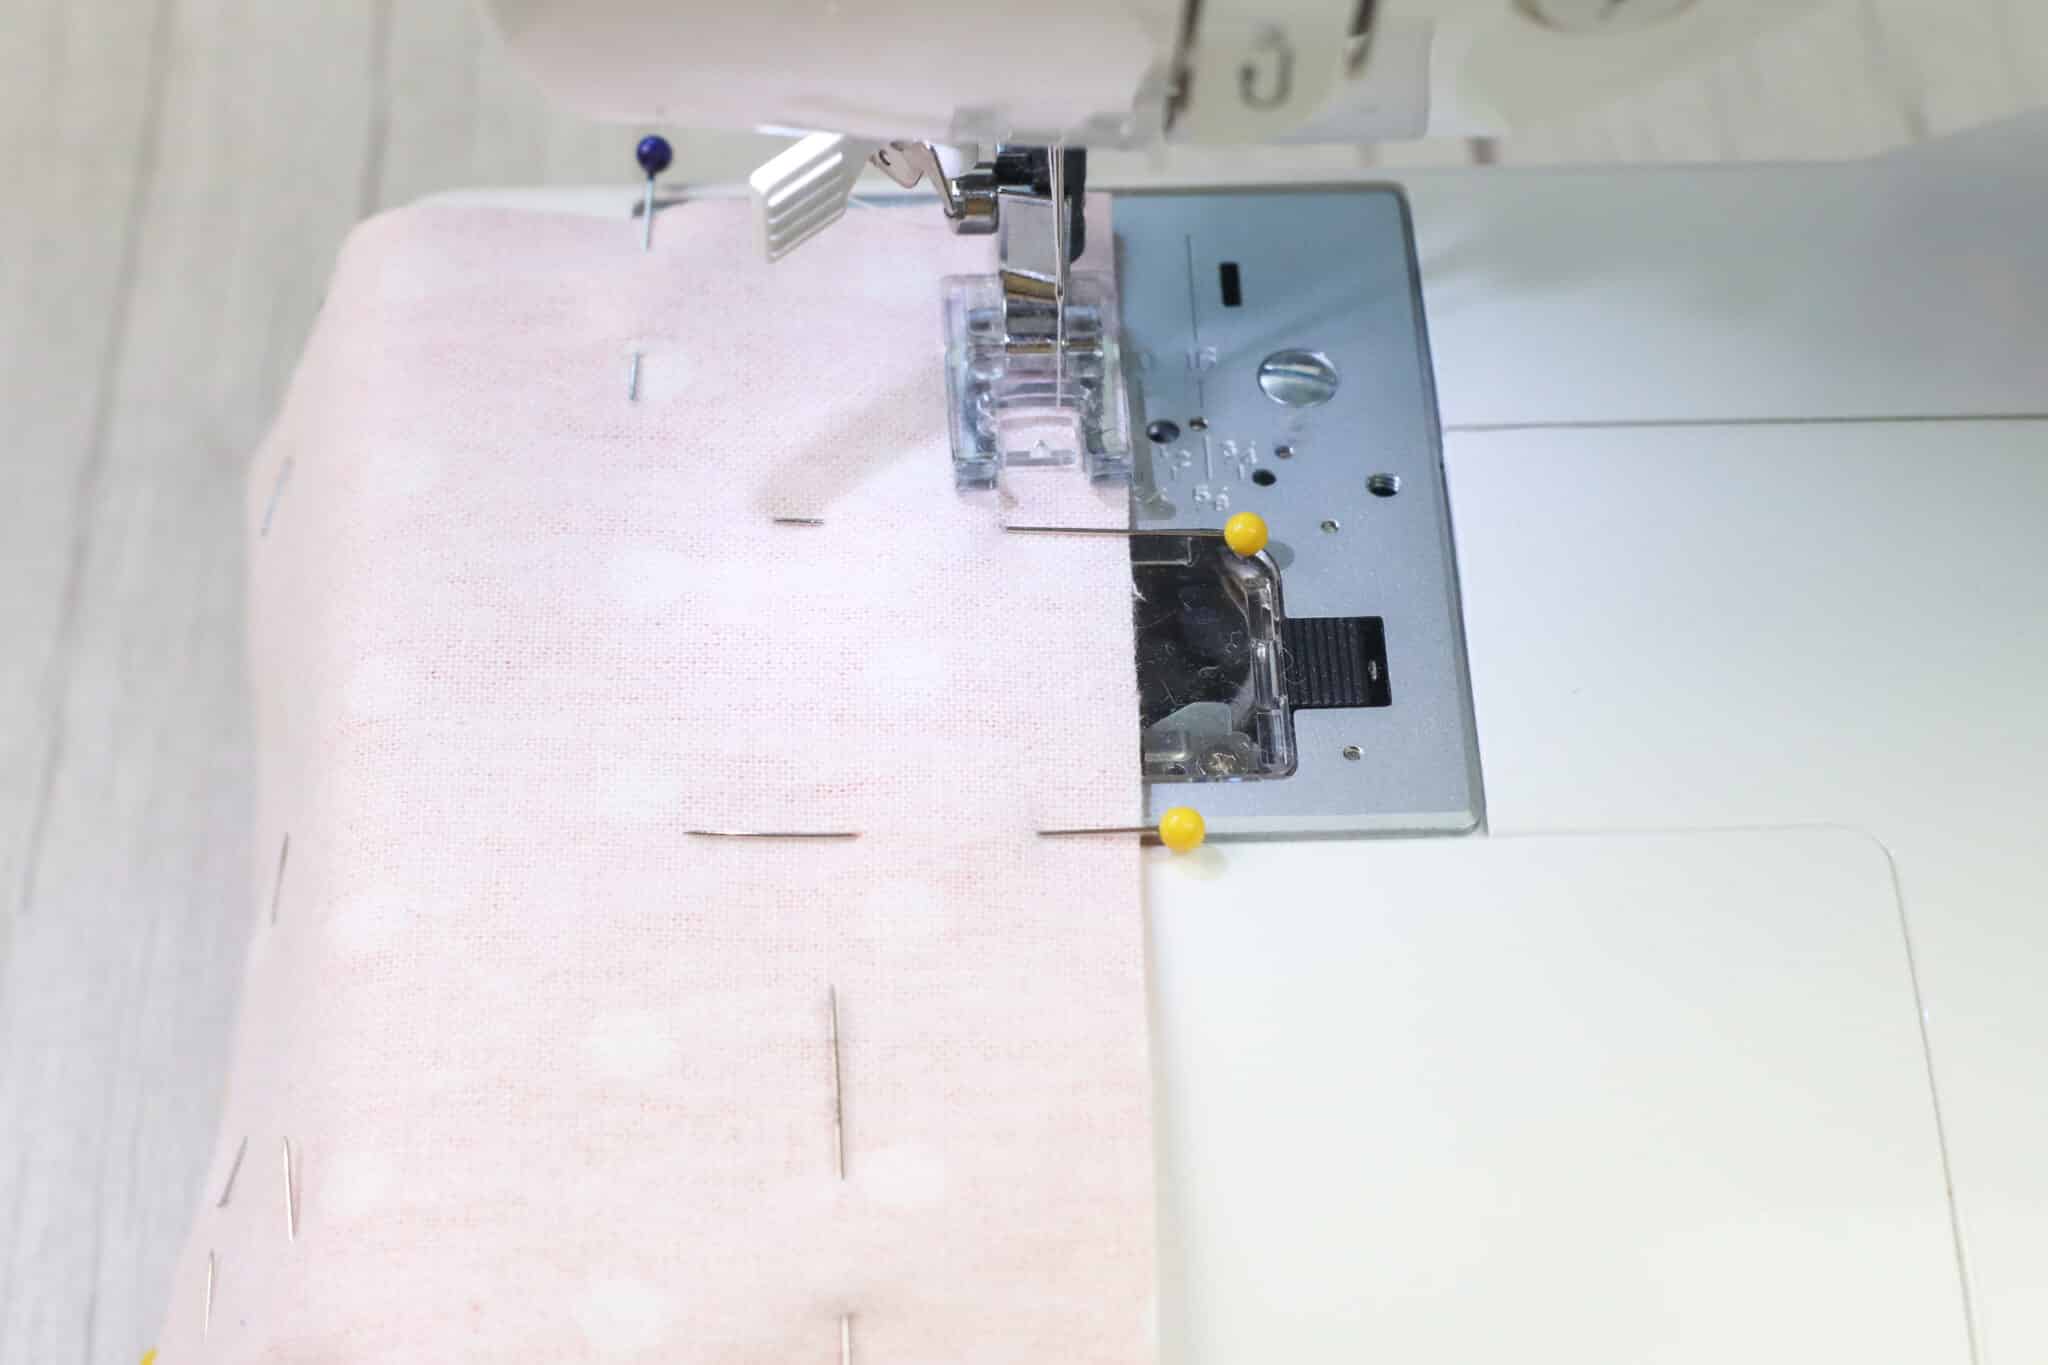
- Sew around all four sides, and leave a 3” piece undone so you can turn it right-side-out.
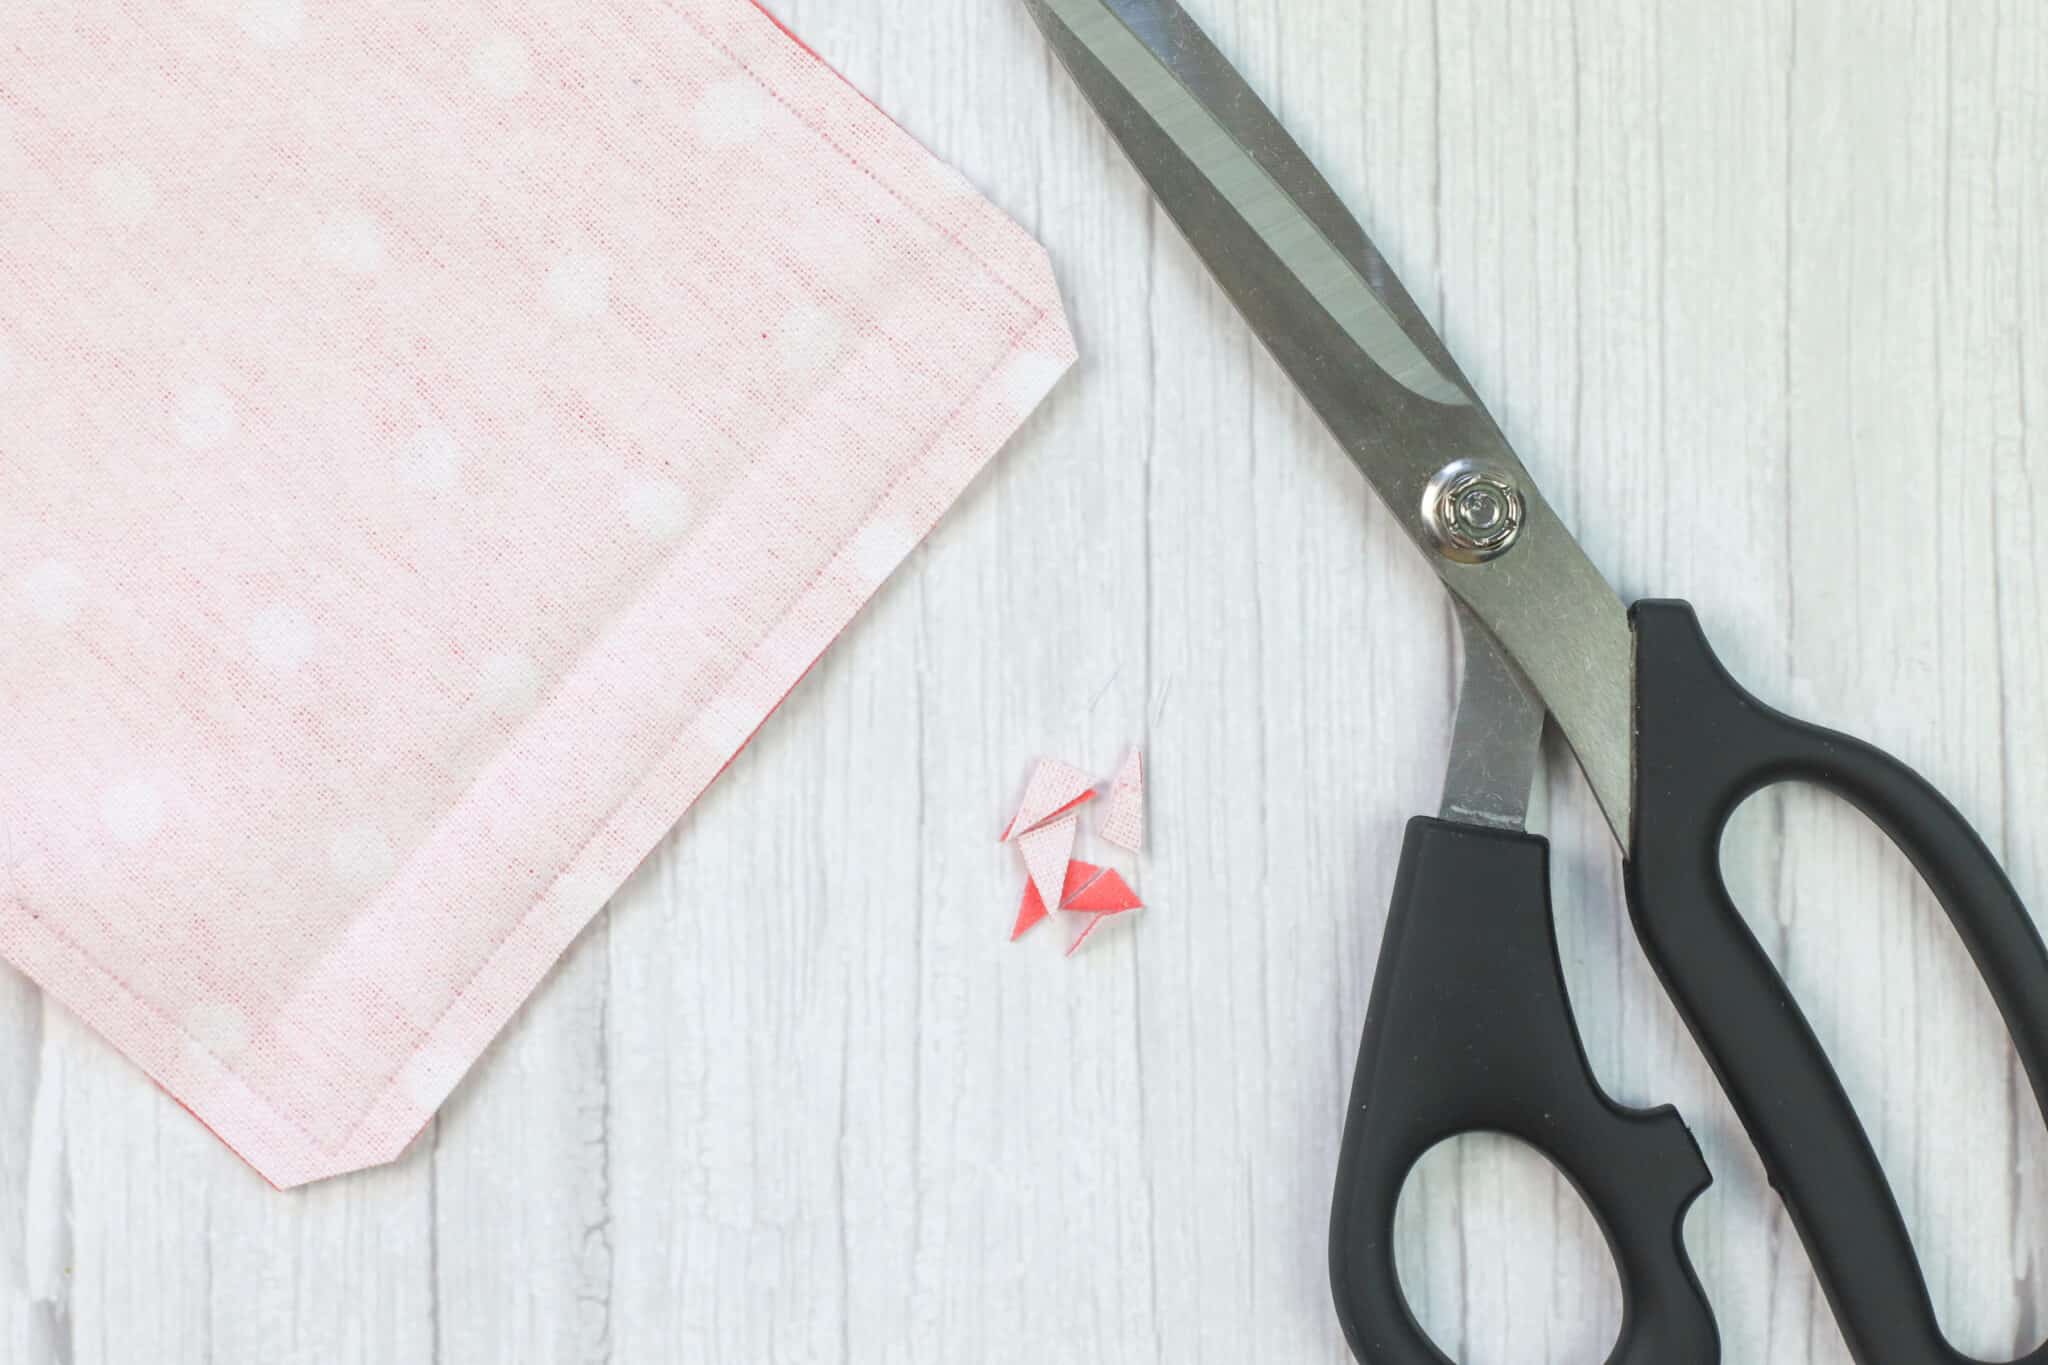
- Clip a tiny bit of fabric from the corners, without cutting the stitching.
- Turn the squares right side out, using a chopstick or pencil to poke the corners out. Press with a warm iron.
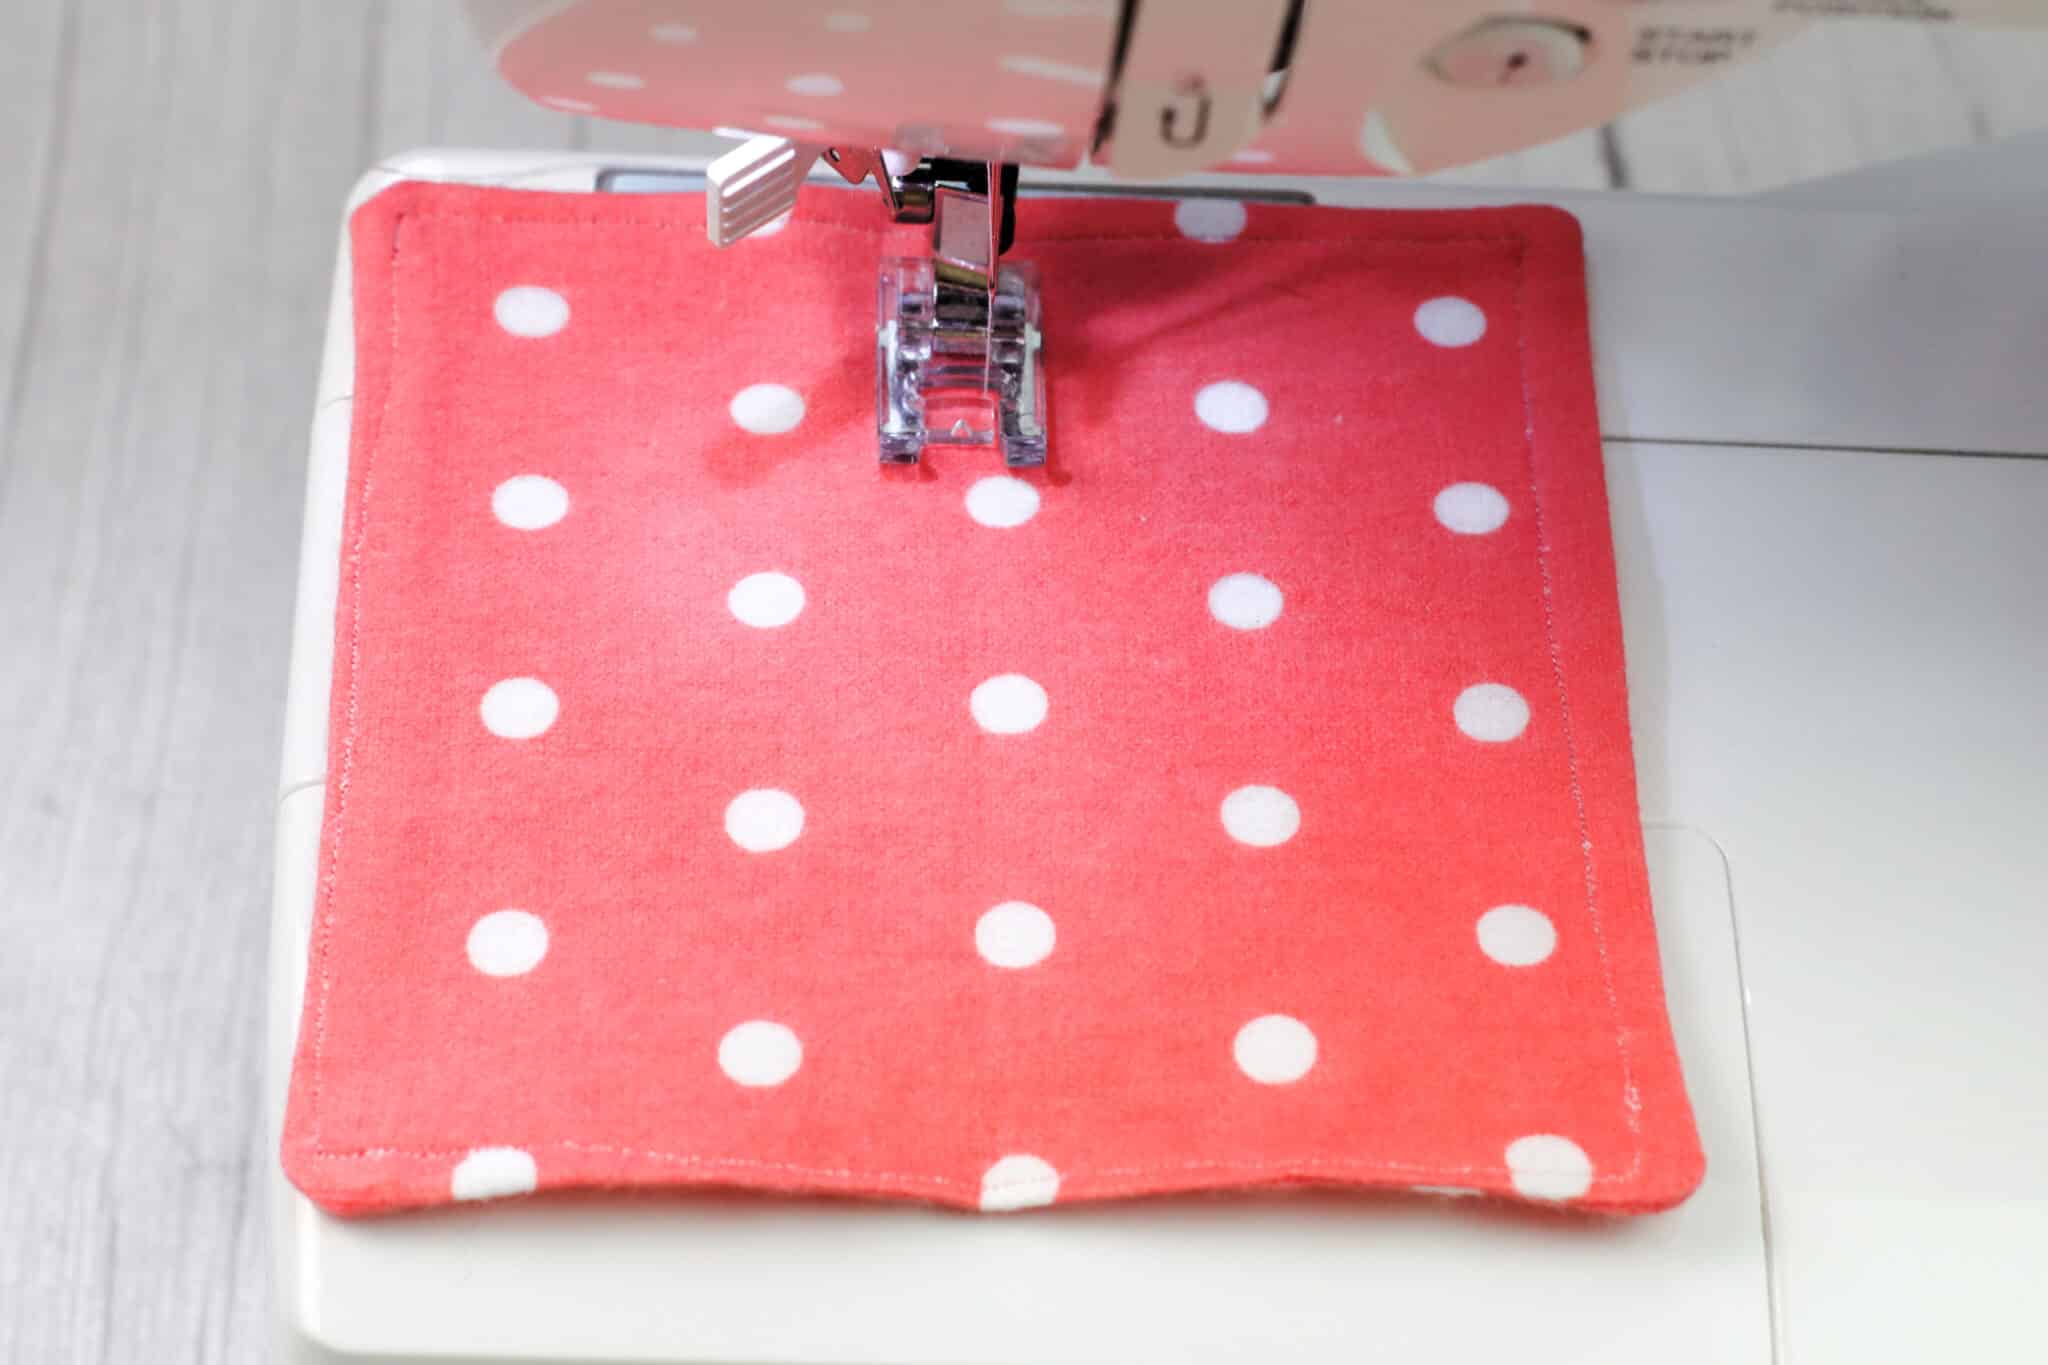
- Stitch all the way around the edges of the square, and stitch a line through the middle. This keeps it from twisting out of shape when you use it.
Notes
I am not a fussy seamstress, and you shouldn’t be either. Homemade dryer sheets will work just fine if the stitches are crooked, the squares are not-quite-square, and so on.
No-Sew Version
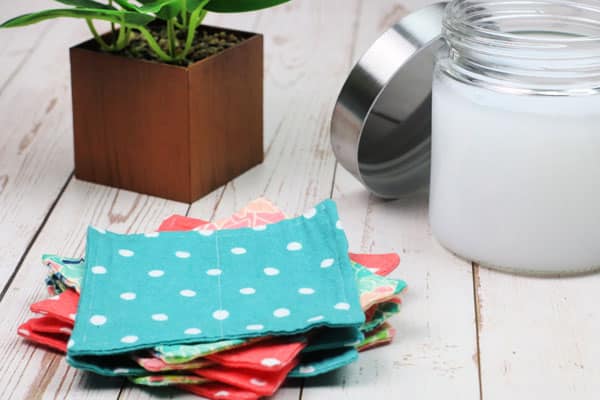
Cut fabric squares with pinking shears, which will help eliminate fraying. Use 2-4 of the squares per load of laundry, as shown below.
Using Homemade Dryer Sheets
Once your dryer sheets are made, you have two options for prepping and using them.
Adding Scent Only
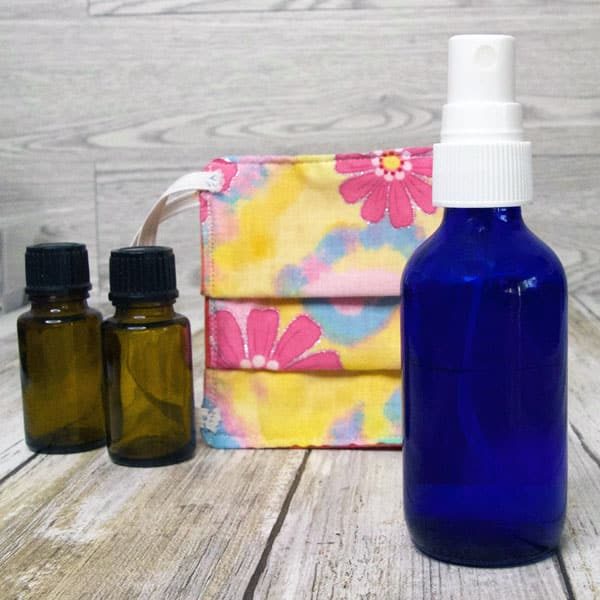
In a large, wide mouth glass jar with lid combine 1 cup white vinegar with 20 drops lemon, orange, or lavender essential oil.
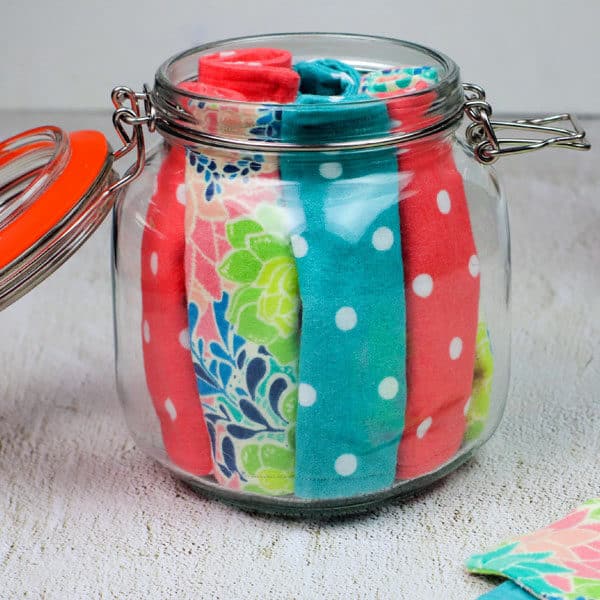
Fold or roll the fabric squares so they fit into the jar and you can easily remove one or two at a time (i.e., don’t just mash them all into the jar).
Close the lid and flip the jar upside down a few times to ensure all the fabric squares are wet.
To use, pull 1 or 2 fabric squares out of the jar and squeeze to remove excess liquid. Toss in the dryer along with your clean clothes.
Adding Scent & Removing Static Cling
Pour fabric softener into a large bowl. Put all the dryer sheets in the bowl and swish around until saturated.
Squeeze the excess fabric softener out and allow the dryer sheets to air dry.
To use, put 1 or 2 sheets into the dryer along with your clean clothes.
Want more eco-friendly cleaning ideas?
Check out Natural Cleaning for Your Entire Home and start cleaning safely!

If trying to go all natural fabric softener is not an option…..it’s chemical filled!!
Great idea. I have used vinegar. As a fabric softener for years. I made lemon extract on my last harvest of my lemons. I used this instead of purchasing oil. Works great. I have a group of friends we all make are own laundry soap to avoid chemicals in are clothing. I am going to make them all fabric softener Sheets, bet they will love them.
Thanks for the dryer sheet tutorial. Wondering why you use vinegar as the medium for the
essential oils. Have used vinegar in the wash but my initial reaction is the vinegar smell and oil smell would combat each other.
Jaye
If you do the one with the fabric softener can you use it more than once without putting back in fabric softener or is it a one time use?
After you use them, do you put them back in the jar of liquid and reuse them that way or do you just continue to use them without resoaking.
Do you have to wash them after use
Pam the scented dryer sheets plus static control. Would you mux the essential oil together with the fabric softener. Or do the oil first let dry and then put them in the fabric softener before you store them in a jar