Here’s everything you need to know about planting Fall bulbs for beautiful Spring flowers. It’s easy to plant bulbs in your garden, or in a container on your porch or patio with these important tips.
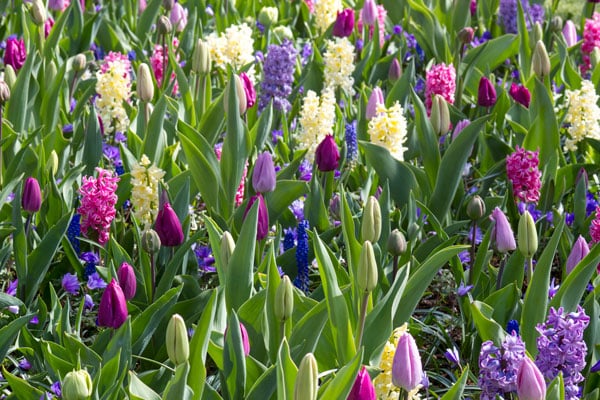
One of the first signs of Spring is when the crocus, daffodils, tulips, and hyacinths start blooming. These cheery bursts of color are just what we need after a cold, wet winter!
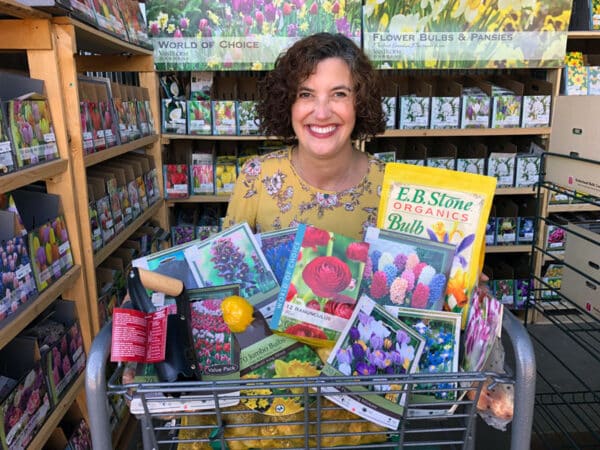
I love shopping at my local garden center for the biggest variety of fall bulbs. Some of my favorite fall bulbs are daffodils, tulips, crocus, hyacinths, and iris, plus onions and garlic. Yep, you can grow these grocery staples in your garden right along with your flowers.
What is a bulb, anyway?
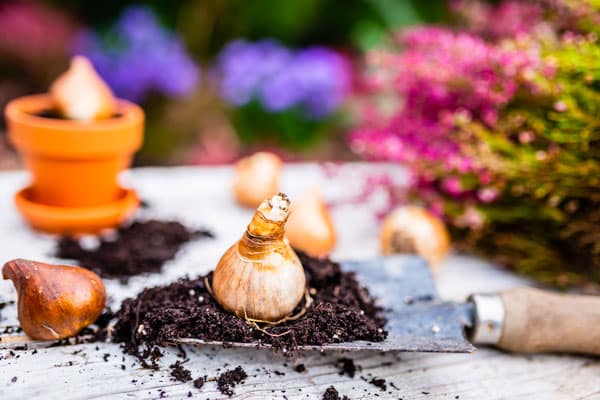
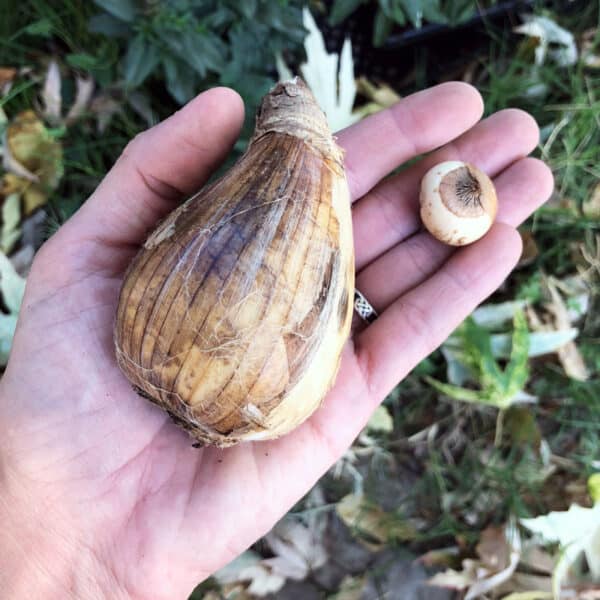
Bulbs are sort of like little plant batteries. They store up energy from one year to the next, and once planted will grow year after year. Bulbs come in lots of different sizes, from tiny crocus bulbs to tulips and daffodils to giant bulbs like amaryllis (naked ladies).
Planting & Spacing
Plant bulbs starting in September, so they can grow strong roots over the winter. The Sacramento County Master Gardeners have a handy, printable bulb planting schedule that’s a great reference tool.
I like to choose some bulbs that are shorter (like crocus) and some that are taller (like daffodils and tulips). The varying heights and different colors add visual interest in my garden.
While you can line up your bulbs in rows or in single file in a border, I find that it’s more natural-looking to plant them in clusters, an inch or two apart. It’s also less obvious if a bulb or two is missing when they’re planted in a group.
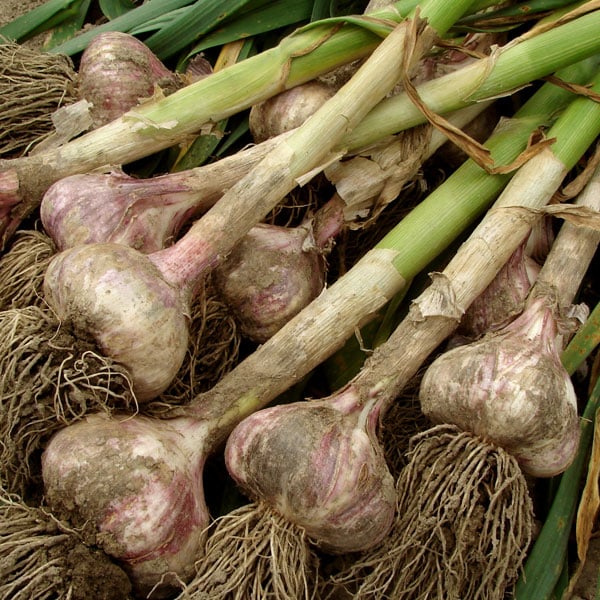
If you’re planting onions or garlic, space them about 4 inches apart so the bulbs have room to grow. Get more information about planting garlic here.
Bulbs are so easy to plant: think dig, drop, cover.
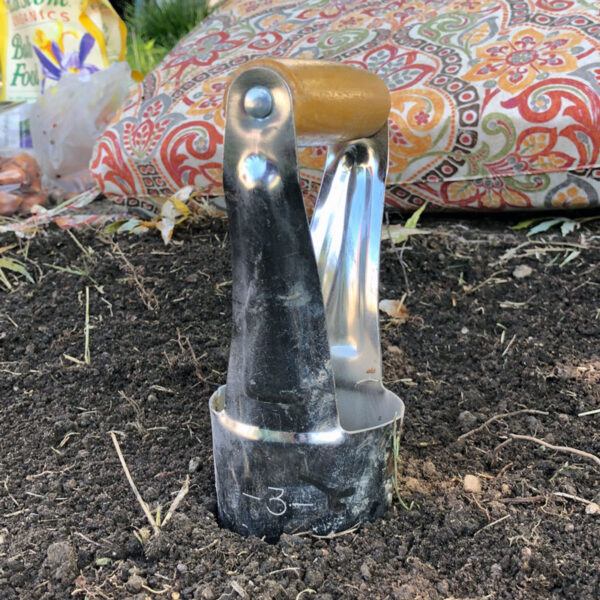
Dig a hole that’s twice as deep as the bulb (so if you stacked two bulbs in the hole, the top of the top bulb is even with the surface of the soil). You can use a bulb planting tool like this, or dig a large area with a shovel.
In the bottom of the hole, sprinkle a bit of E.B. Stone Organic Bulb Food. This gives your bulbs added nutrients for better growth.
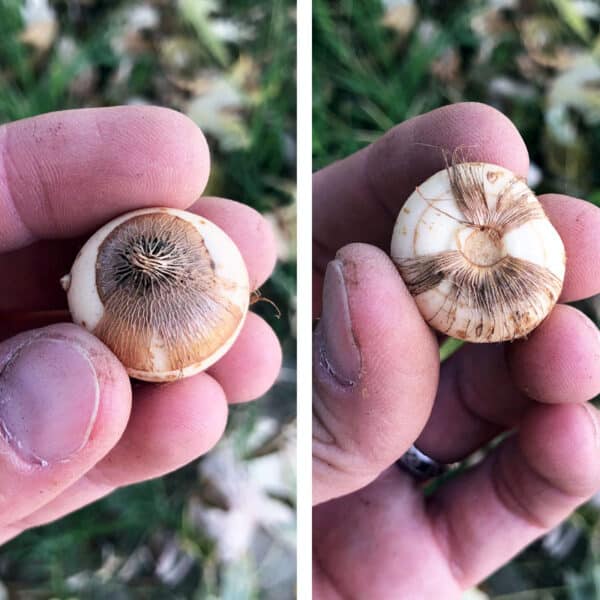
Drop your bulb in the hole right-side-up. The top is usually pointy and the root end has a circular scar, like the base of an onion. Sometimes it’s hard to tell on the tiny bulbs, like crocus. Planting them upside-down won’t stop them from growing, but it may weaken them or slow their growth.
Cover with soil and give a gentle soak of water. I like to use my Dramm Rain Wand instead of a sprinkler, because I can direct the water exactly where it needs to go, without wasting water.
Sun, Water, Soil
Most bulbs like full sun or partial shade, and aren’t too particular about soil quality. The most important part is that the soil must have good drainage. If the bulbs sit in water or wet soil for too long, they could rot.
If you get rain or snow once a month, you shouldn’t need to water your bulbs once they’re planted. If you don’t have any rain for four weeks or so, give your bulbs a slow, gentle soak.
Pests & Diseases
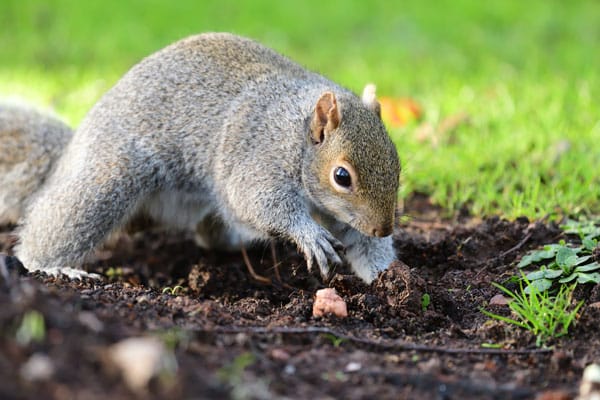
Unfortunately, squirrels and other critters like bulbs almost as much as we do. They don’t like the flowers, though—they like to eat the bulbs. This can be so frustrating, especially if you don’t realize it has happened until you see a bare spot in your garden in the spring.
There are a few ways to keep your bulbs safe—some for use during planting, and some that are used afterward.
While planting, put your bulbs in a mesh cage that’s designed specifically to be rodent-proof. The roots and stems fit through the mesh just fine, but the critters can’t chew threw it or fit through the holes. This works well for underground critters like gophers or voles.
If you want to keep deer from munching your bulbs, plant daffodils, snowdrops, or allium. They have a bitter taste that repels animals. Feeling brave? Plant your tasty tulips and crocus along with these bitter bulbs and it might just keep them away.
Squirrels and chipmunks like to dig from the surface, so if you’re battling them, mesh is the answer. I like to use plastic poultry fencing and lay it over the surface of the soil. Then you can cover it with mulch or plant some annuals to disguise it.
After planting, you can use repellents like Havahart Critter Ridder or Bonide Repels-All Animal Repellent, which you apply to the surface of the soil.
Spring Care for Bulbs
After your bulbs have bloomed, resist the urge to trim back the leaves (it’s OK to deadhead the flowers). The plant uses this time to “recharge” the bulb via photosynthesis. Apply another dose of E.B. Stone Organic Bulb Food in the Spring, and leave the leaves alone until they turn brown.
If the brown leaves bother you, interplant your bulbs with annuals or perennials. This will help disguise the dying leaves.
Bulb Planting FAQ
Will bulbs regrow every year?
Yes, most bulbs will regrow every year. There are some occasions when your bulbs may not grow again–for example, if the soil was too wet and they rotted; if they were eaten by critters; or if they were damaged by bugs, fungus, or disease.
It’s spring and I just found a bag of bulbs. Can I plant them?
Yes! If they are still plump and firm they just might grow. Bulbs won’t “keep” in the bag from one year to the next–they need to be in the soil. Just like garlic bulbs will grow when they’re sitting on your counter, flower bulbs will do their best to grow whenever they are planted.
Can I plant bulbs in containers?
Bulbs will do just fine in containers, as long as the container is deep enough for the roots to grow. A container that’s at least 6 inches deep is a good choice.
Fill the container halfway full with good potting soil and a bit of E.B. Stone Organic Bulb Food. Then place the bulbs on the soil about an inch apart, in whatever configuration you like. Cover with potting soil and plant pansies or violas on top for additional color.
In early spring, the bulbs will start to grow and sprout through the flowers. Then as the flowers are fading, the bulbs will start to bloom. It’s continuous color from just one planting session!
Originally published on the Green Acres Nursery & Supply blog.

