This post may include affiliate links.
If you make a purchase, I'll earn a small fee at no extra cost to you.
It’s easy to make compost for your garden! Composting is a great way to convert kitchen and garden waste into nourishing soil. Here are three simple ways to make compost.
Thank you to Smart Pot® for sponsoring this post.
Once you start gardening, you’ll hear folks talk about composting and the benefits of adding compost to your soil. It sounds like a mystery or some sort of difficult equation, but it’s not.
Consider the following: in nature, all manner of plants die and decompose; animals’ fur, feathers, and poop decompose as well. The nutrients and organic matter in these materials return to the soil and improve soil health for future plants.
Nature has been composting since the beginning of time. When we make compost, we simply harness and improve on this natural process!
What is compost?
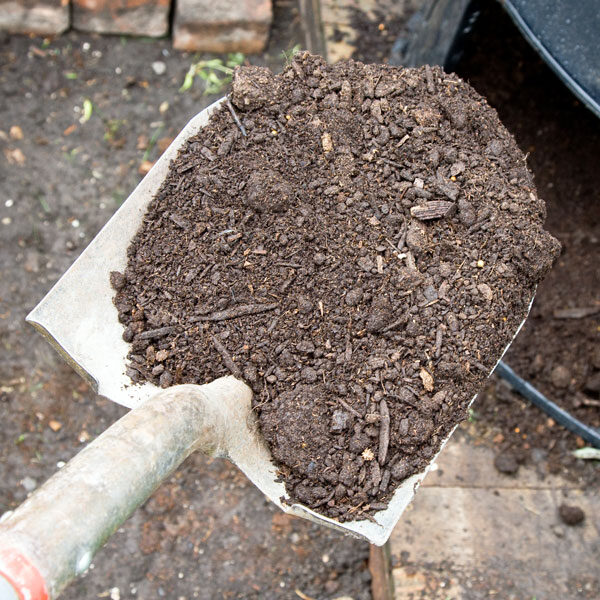
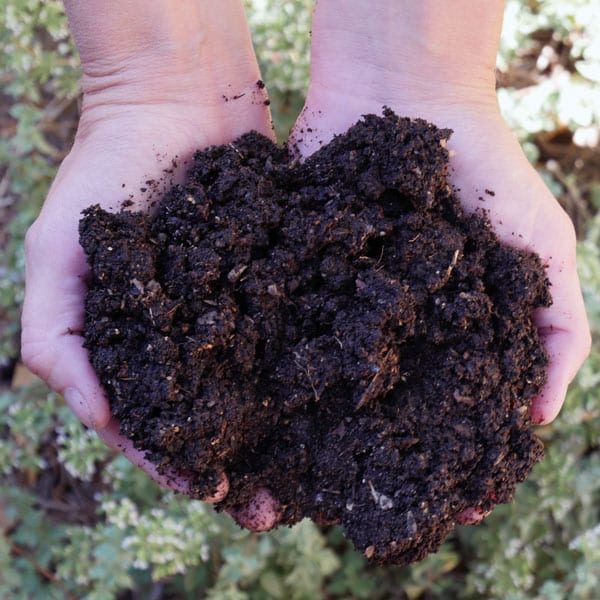
Compost is a rich, dark mixture of decayed organic matter that’s used to fertilize soil. Because it’s made with a variety of natural materials (more on that shortly), it contains many nutrients and minerals that plants need to grow and thrive.
Compost improves your soil by binding with soil particles to improve its texture. Whether you have sandy soil or clay soil, the answer is to add compost.
Sandy soil is loose and doesn’t hold water; clay soil is too heavy and doesn’t release water. Compost will balance these out, allowing water, oxygen, and nutrients to reach the plants’ roots.
With better nutrients and soil texture, earthworms and other beneficial critters will be attracted to your garden. They will further improve the soil by increasing aeration and contributing their own nutrients.
The important thing to remember is that compost happens automatically in nature. You can easily make compost for your garden by keeping a few simple tips in mind. Here we go!
Ingredients for compost
What do you need to make compost? Just two kinds of materials: browns and greens. Nature will add the oxygen and water to complete the decomposition process.
Browns are materials that are high in carbon. They’re usually dried, and they will make up a majority of your compost pile.
Here are some examples of brown items to add to your compost:
- Fallen leaves
- Spoiled hay or straw
- Shredded paper (not glossy)
- Sawdust
- Cardboard
Greens are materials that are high in nitrogen. As you can see, greens are moist and must be mixed with the browns in your compost pile. If they’re left in a big clump, they’ll become slimy and smelly.
Here are some examples of green items to add to your compost:
- Lawn clippings
- Fruit and vegetable scraps
- Coffee grounds
- Weeds that haven’t gone to seed
- Rabbit (or other herbivore) bedding
You want a ratio of 30:1 with more browns than greens. No, this is not something you can measure. Don’t stress about it. Just know that if you add a lot of lawn clippings or vegetable scraps, you need to add a lot of browns to balance it out.
Types of Compost Piles
There are three main composting methods, or types of compost piles: closed bin, open bin, and pit composting.
Closed Bin
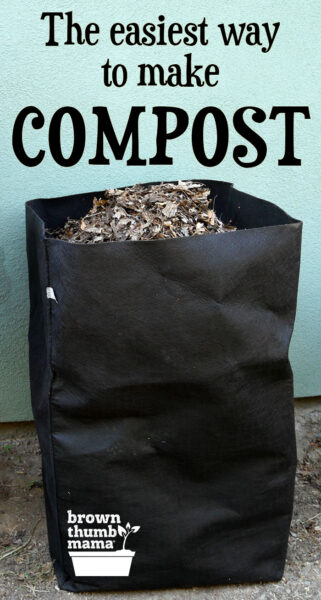
Closed bin composting is perfect for those of us who are composting in the city. This is my favorite method, and I want to show you how easy it is to make compost in the Compost Sak by Smart Pot.
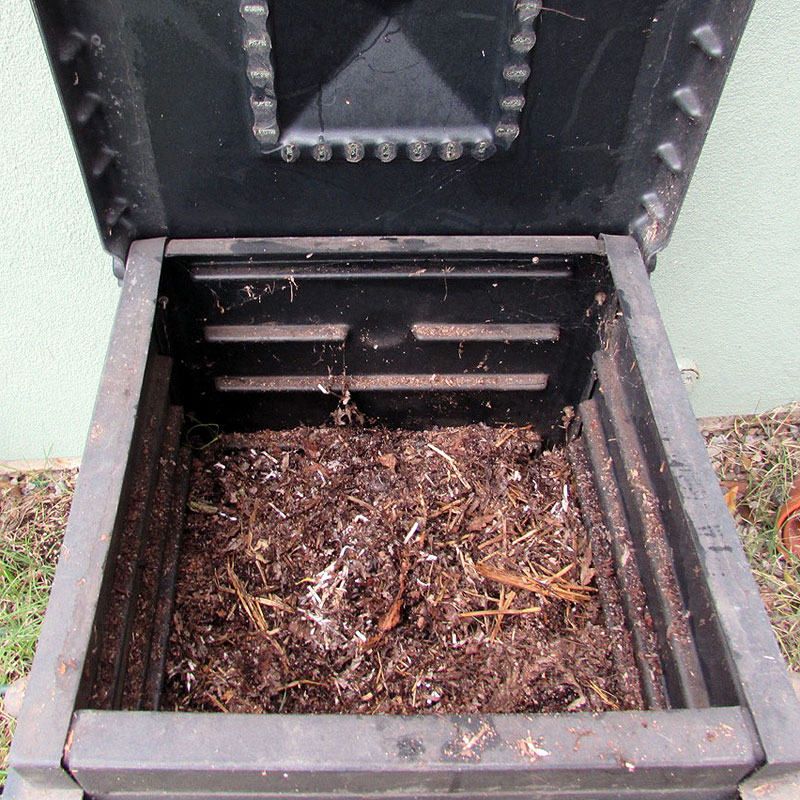
With closed bin composting, you put your brown and green materials into a large container with a lid. This container keeps critters like mice, cats, and raccoons out of your compost pile.
Most of these compost bins are large, heavy and expensive. It’s a pain to put them together, and you can’t move them when they’re in place. I had one like this for several years, and didn’t know there was another option.
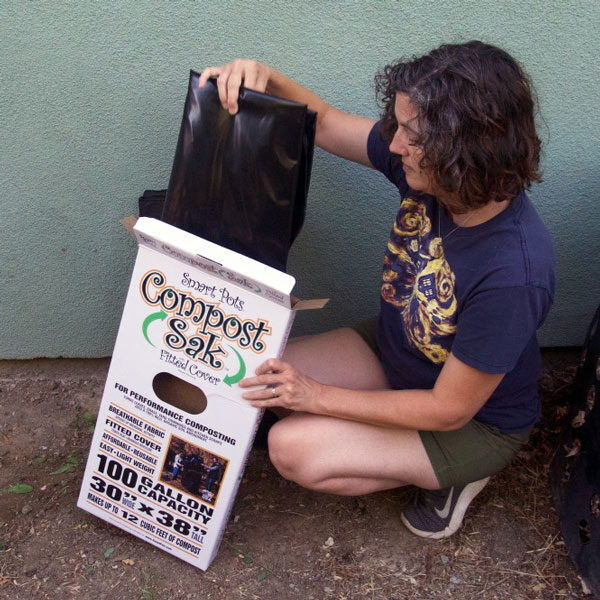
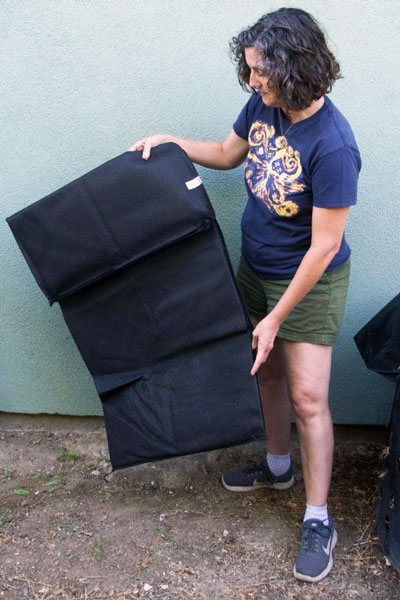
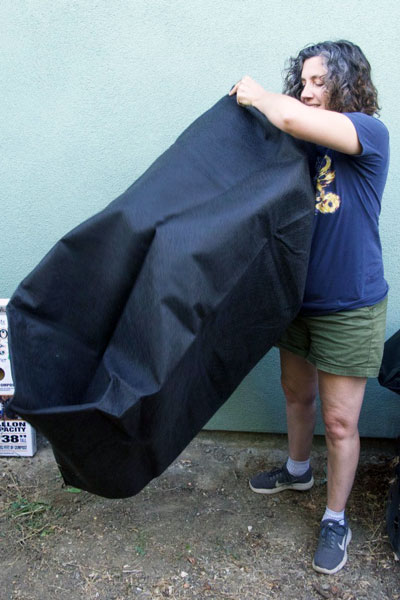
When the good folks at Smart Pot sent me a Compost Sak, I was excited to give it a try. It’s lightweight, with no assembly, and is shaped like a giant grocery bag.
You simply slip it out of the box,
unfold it,
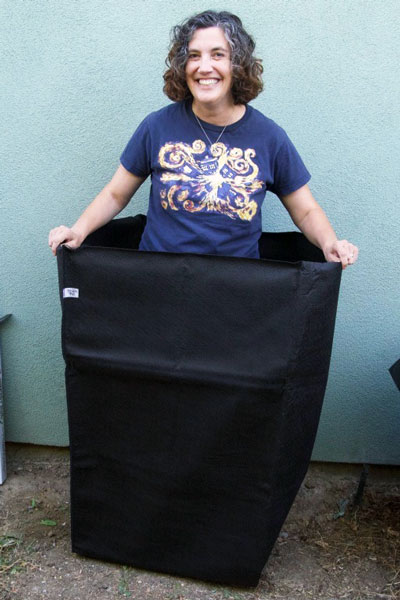
and jump in I mean add your composting materials.
The Compost Sak is gigantic! It holds up to 100 gallons of compost materials, so there’s plenty of room to layer your browns and greens.
Just like their parent company, Smart Pot, Compost Sak is made in the USA of a special geo-textile fabric that’s durable and breathable. It’s lightweight, with no assembly needed, and costs less than $50. Learn more about the Compost Sak.
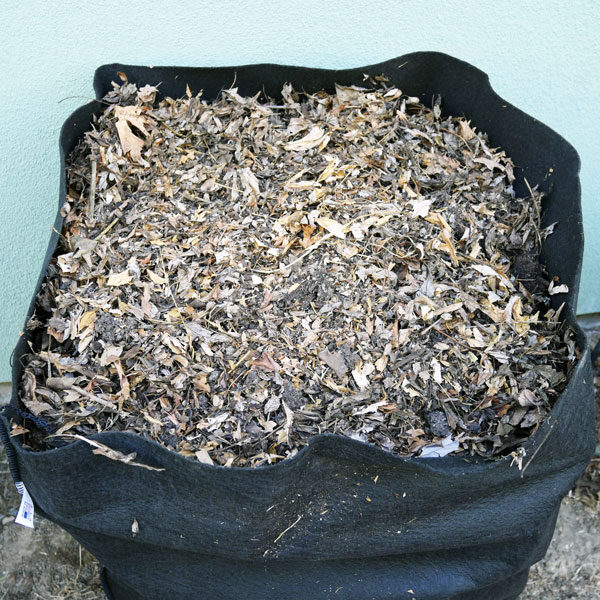
I filled it up with layers of leaves and straw and kitchen/yard trimmings, sprayed it with the hose, and gave it a good stir. You can slip the plastic cover over the top if you want (I decided not to, so I’d remember to water it). Mix the pile every couple of weeks, and you’re good to go.
Open Pile or Open Bin
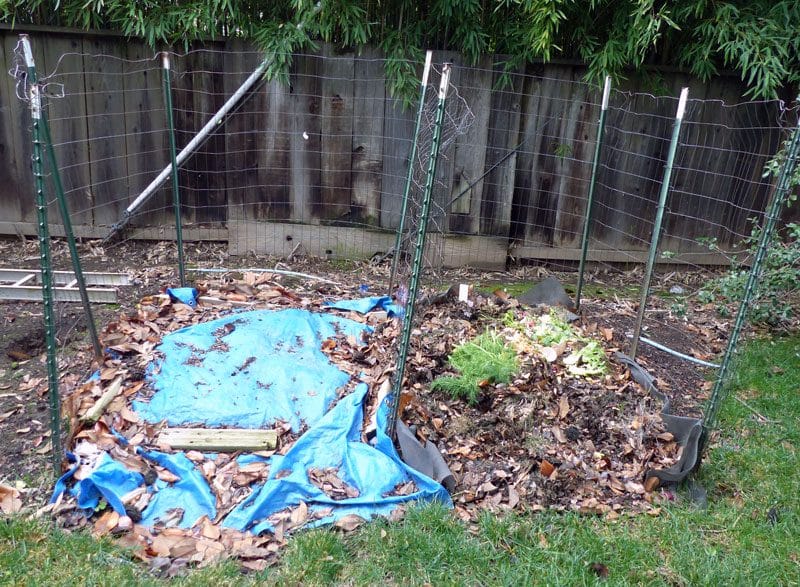
This is perfect for those who have lots of space. Sometimes open pile composting happens naturally, like with the neighbor who piles up his leaves in one place and leaves them sit all winter. Usually, though, it consists of two or three partially-fenced areas with compost materials piled inside.
You designate one of the areas as the starter area. Everything goes in this area in the beginning, so the soil microbes and earthworms can really get rockin’.
Then after about a month, you put half of the starter pile into the second area. This is the working area, and each week you’re going to stir it with a shovel or pitchfork and add water so it’s moist.
Don’t add any fresh materials to the working area! That’s like adding a raw egg to a cake that’s already half-cooked in the oven. Add all fresh materials to the starter area and just let it percolate and break down.
After a month or two, the working area is going to start looking like amazing garden soil. If there doesn’t seem to be much happening, add some compost accelerator (I like EB Stone’s Organic Compost Maker) and let ‘er rip.
Pit Composting
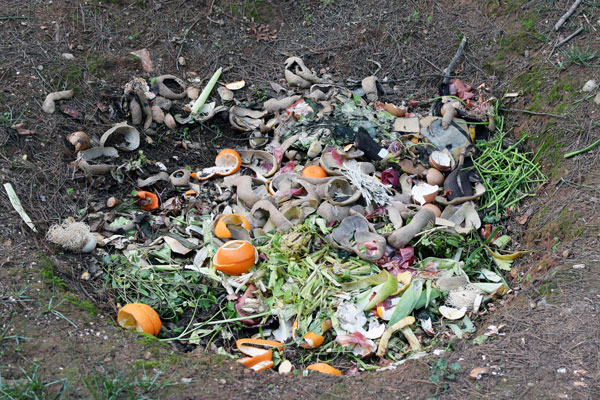
This is just as straightforward as it sounds. With pit composting you dig a hole in whatever area of the garden needs more nutrients, and plop a pile of browns and greens in there. Then cover with soil and let it go.
Be cautious if you’re putting vegetable seeds in your pit compost. They might just sprout come springtime and you’ll have a jungle of volunteer vegetables to deal with.
One of the drawbacks of pit composting is that critters (mice or raccoons) could dig up your compost pit for the tasty treats you’ve buried there.
How to Make Compost
Now that you’ve selected your composting method of choice, you’re ready to get started.
Pit composters, you don’t need any further instructions. Dig a hole and dump some browns and greens in. Cover with soil and wait.
Open and closed bin composters, think of your bin like gardener’s lasagna. You’ll start with a large pile of browns (as much as 6 inches deep), then add a 1 inch layer of greens. Add some soil from your garden, too–this will help inoculate the compost with bacteria and enrich the soil with microbes.
After adding the soil, spray the pile with water. You don’t need a ton–just enough to moisten the materials (i.e., water should not run out of the bottom of the pile). Follow with another large pile of browns and a thin layer of greens and soil, and repeat until you’ve run out of material.
Next, you’re going to stir your compost. This helps aerate the pile and gets the decomposition bacteria going. You don’t need a fancy compost turning gizmo–a shovel or pitchfork will work just fine. Open pile composters have the easiest time with this, because it’s easy to access their pile.
Sealed bin composters, like me, have it a little bit tougher. You can take off the top and scoop/stir with a shovel to mix everything up.
When is Compost Done?
There are three tell-tale signs that will tell you that your pile is composting properly.

- Smell: Your compost should have a nice earthy smell. If it smells sour or rotten you probably have too much water and not enough air. If it smells of ammonia, you’ve got too much nitrogen (“greens”) and not enough carbon (“browns”).
- Moisture: The pile should be about as damp as a wrung-out sponge. Any less water and the microbes can’t thrive. Any more water and they will suffocate because air can’t move as well.
- Texture: Perfectly finished compost has a fine texture with no large chunks–certainly nothing recognizable from the items you put in. In my experience there’s always something left over from what you started with. If you want “perfect” compost, e.g. for starting seeds, pour the compost through a large sifting tray and leave behind the chunks for your next batch.
How do I use my compost?
- Spread a thick layer of compost around your plants as mulch, to retain water and add nutrients to the soil.
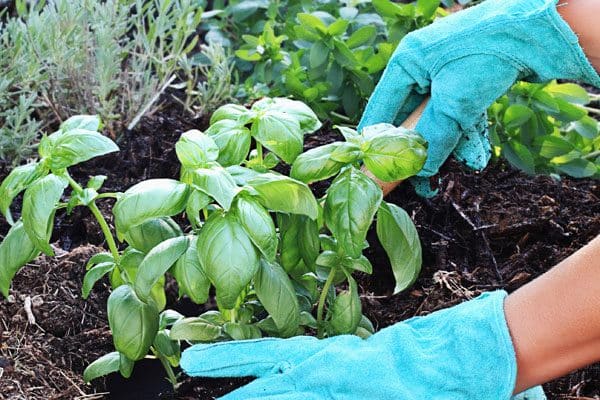
- Mix a bit into the soil when planting vegetables, bulbs, trees…anything and everything in the garden.
- Add your compost to container plants, which often don’t get as many nutrients as plants grown in the ground.
- Make compost tea (a cheesecloth bag of compost soaked in water for 24-48 hours), which is a great way to get nutrients to your plants quickly.
- After gardening season is over, cover the soil in your garden beds with a thick layer of compost.
Questions About Making Compost
How long does it take to make compost?
It can take between 3 months to 2 years to make compost. Things that will help your compost be ready faster include:
- Ensuring a good balance between browns and greens in your pile
- Grinding, chopping, or shredding materials before adding them to the compost bin
- Stirring/turning and watering your compost (when there is no rain) every 2 weeks
- Adding compost accelerator, like EB Stone’s Organic Compost Maker, chicken manure, or fish meal.
Do I need a lot of equipment to make compost?
Nope, you sure don’t. Most of the gadgets and gizmos marketed to composters are expensive and unnecessary. Here’s a list of composting tools you don’t need.
How do you make the best compost?
While there aren’t quality grades with compost, the best compost is dark, crumbly, and fine, without large chunks that need to be sifted out. This is why it’s important to chop or shred leaves and kitchen waste before adding them to the compost pile.
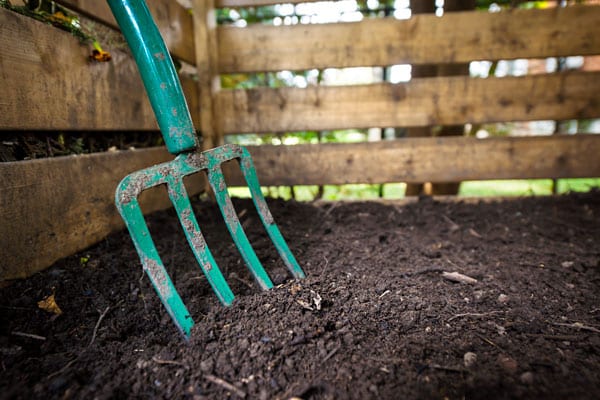
Good compost will be dark, smell rich and earthy (like the forest floor), and crumbly.
Is it worth making your own compost?
Yes, absolutely! Making compost keeps waste out of landfills and gives you a safe, natural way to enrich your garden soil.
Also, since packaged compost can cost $20 a bag or more, you’ll save a ton of money by making your own.
Can I compost egg shells and paper towels?
Yes! You can compost most kitchen waste, like egg shells and paper towels. Here’s a list of 21 items you can compost.
What can’t go in the compost?
While most plants and plant-based products can be composted, some items (like diseased plants, meat scraps, and most animal poop) can’t go in your compost pile. Adding these could contaminate your compost, slow the composting process, or even kill your plants.
Congratulations! With just a tiny bit of work, you’ve made your own compost–a rich, valuable supplement for your garden soil.

