Make and take essential oil classes are a fun way to introduce your friends, family, and team members to all the things they can do with their essential oils. These classes appeal to those who are currently using essential oils and those who don’t know much about them.

At a make and take class, you provide the expertise, recipes, and materials. Your guests will make the essential oil blends/recipes they like and see how easy it is to use oils in their daily life.
There are four easy steps to hosting or teaching a make and take class: invite, get supplies, set up, and teach.
How to Host an Essential Oil Make and Take Class
Step 1: Invite People to Your Class
Choose a Day and Time
There’s no such thing as a perfect day of the week or a perfect time to teach a make and take class. I’ve taught classes at an office during lunch break, at my home on a weekend, on a weekday right after work in a café…the opportunities really are endless.
Schedule the class at a time that’s convenient for your guests. Holding a class right at 5pm might work great for you, but if your guests have to drive a long way to get there, they’ll either be late or skip the class entirely.
Invite and Remind
Invite twice as many people as you’d like to have at your class. Don’t rely on them seeing a Facebook notice–a personal call or text is much better.
Don’t be shy about how cool and fun your class will be. You’re going to have a great time—let them know it! Here’s a sample description for a “Green Cleaning with Essential Oils” make and take class.
Green cleaning never had it so good! At this free class, you can make several eco-friendly, essential oil household cleaning products. There will be a small materials fee to cover the cost of supplies, and you will have the recipes so you can make the cleaners again at home.
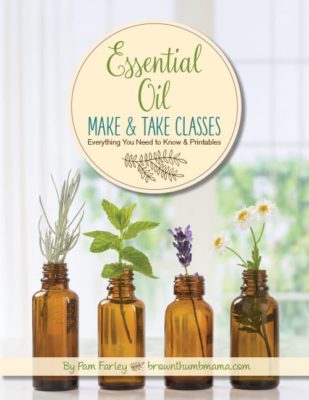
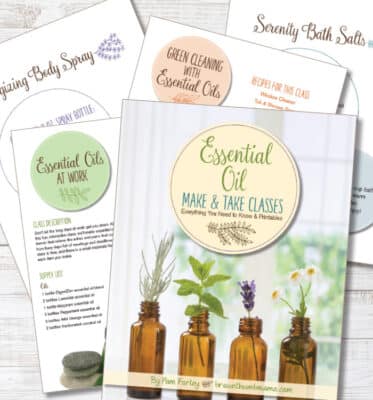
At a loss for words? Not sure how to describe your class? Check out my ebook, Essential Oil Make-and-Take Classes: Everything You Need to Know + Printables and get class descriptions, supply lists, printable recipe signs, and order forms for 4 different make and take classes. Learn more here.
Step 2: Make and Take Class Supplies
Recipes
I offer 4 different make and take items per class. That gives people a good assortment of oils and recipes to try, and they usually make at least one item—often all four!
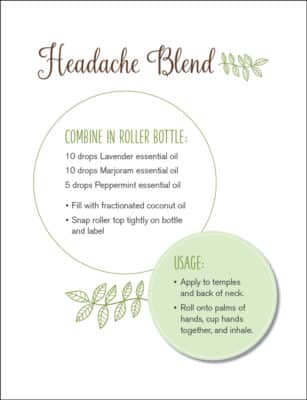
After deciding on the recipes you’ll offer, make a recipe sign for each one. I make the text nice and big so it’s easy for everyone to read. Here’s an example of a recipe sign printable from my ebook:
Make each of the recipes ahead of time so you have a “tester” or sample for people to try at your class. Being able to try something before buying it always helps.
Cost
Since you’re spending money on the supplies and products for the class, you need to recoup your costs. You can charge a flat fee for attending the class, or a materials fee for each item the participants make.
I prefer to invite everyone to come to the class for free, and have them pay a small materials fee for each item they make. Be sure to set a price that covers your cost for the oils, bottles, labels, and other supplies.
How do you determine the price to charge for each item? Look at the cost of the supplies and containers for each recipe.
There’s a detailed price calculation example in Essential Oil Make-and-Take Classes: Everything You Need to Know + Printables.
Oils
Each recipe needs its own “set” of oils. That will make it easier for your guests to make different blends without having to share oil bottles and possibly lose track of what they’re doing. You’ll set these out at the Recipe Stations, which we’ll talk about in the next section.
For example, for the “Essential Oils at Work” class in my ebook, you’ll need:
3 bottles Peppermint essential oil
2 bottles Lavender essential oil
2 bottles Wild Orange essential oil
1 bottle Marjoram essential oil
1 bottle DigestZen essential oil
2 bottles fractionated coconut oil
Supplies
Depending on the class you’re giving, you’ll need a variety of supplies and materials. It’s better to have too many supplies than to run out! I assume that everyone who’s coming is going to make all 4 recipes and order materials accordingly.
It’s helpful to have order forms that list all the items guests can make, and include a space for their name and email address. This is great for keeping track of who has paid, and for following up after the class.
Order forms for all 4 classes are included in the printables for Essential Oil Make-and-Take Classes: Everything You Need to Know + Printables.
Optional but Helpful Supplies
The Essential Life or Modern Essentials reference book
Pipettes for fractionated coconut oil
Acrylic sign holders for the recipe signs
Small paper bowls to hold rollerbottle pieces, or small baskets to hold everyone’s supplies as they go from station to station
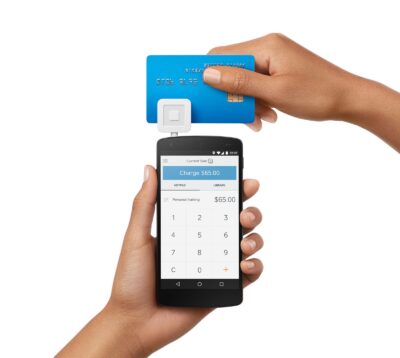
Square reader so guests can pay with debit and credit cards. Use my link to get $1,000 in free processing.
Step 3: Make and Take Class Set Up
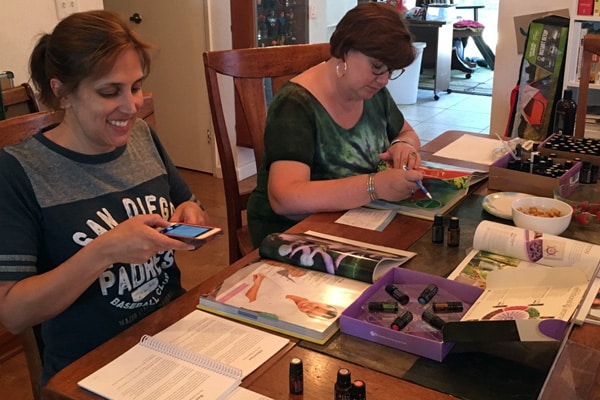
Set up the room so it’s easy for people to walk around, smell the oils, and make their recipes. I do this by setting up “stations” for recipe making, and having a different area where people can eat snacks, visit, and learn about oils.
Recipe Stations
To set up your recipe stations, put each recipe sign in an acrylic holder and set the oils that belong with that recipe in front of each sign. Put the tester product that you’ve already made here, as well.
If you don’t want to research your own recipes and design the recipe signs, check out my ebook for professionally-designed recipe signs for four different make and take classes.
Snack & Learning Station
It’s nice to have a space for people to sit and talk. This area can have a catalog or two, a copy of Modern Essentials Living, and a diffuser with one of your favorite blends.
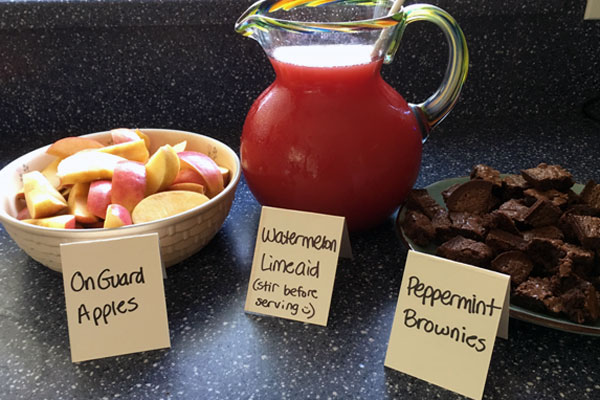
Make and take snacks don’t have to be fancy. Everyone is going to be making recipes and moving around, so finger foods are perfect.
Step 4: Teach the Make and Take Class
Welcome everyone and thank them for coming! Explain what the class is about (you can repeat the class description from the invitation), and walk around and show everyone which recipes are at each station. Talk about what each recipe is good for, and how they can use it in their home.
Hand everyone an order form, and invite them to walk around, experience the oils, and test out the samples. Then when they love what they’ve tried, they can mark their order sheet with the items they want to make. They’ll turn their order form and payment to you, and you’ll give them the correct number and type of containers for the recipes they’re making.
As everyone is making their blends, you can walk around, answer questions, and help anyone who gets stuck or needs extra supplies. Since everyone paid before starting, they can leave when they’re done making the recipes or they can stay and visit. You won’t have to worry about people leaving before paying or trying to keep track of what people made.
Congratulations!
Congratulations on hosting a successful make and take class. As you teach more of these classes, the four steps (invite, get supplies, set up, and teach) will become easier and easier to remember. Soon, you’ll be showing your team members how to teach make and take classes!


