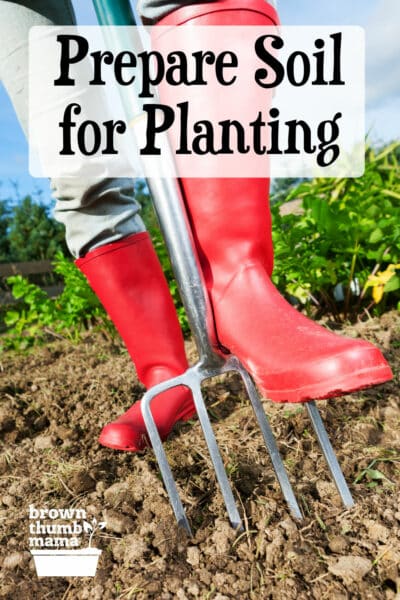
It’s important to prepare your soil before planting your vegetables or flowers. Here are 3 ways to prepare your soil for planting, including a fast and easy way for new gardeners.
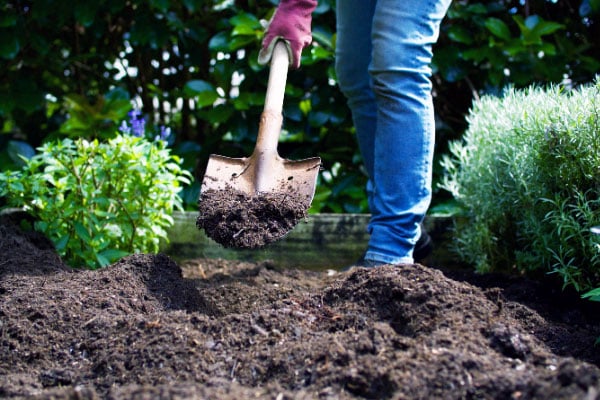
It’s true that all plants need is sun, soil, and water…but that’s not all there is to it. Good soil is critical for growing healthy, strong plants. Whether you’re growing vegetables, flowers, or just a really nice patch of dandelions, you need to prepare your soil to get the best results.
Good soil has lots of organic matter (like your homemade compost), nutrients for the plants, living organisms (like earthworms and fungi), and it needs to be turned or loosened so the roots can get oxygen and water can drain.
There are three different ways to prepare your soil for planting vegetables and flowers. Let’s check ’em out.
Soil Prep: Lasagna Method
It’s not called the lasagna method because you’re growing lasagna plants (although Hubby would really like that). With this method, you prepare the soil by layering different materials on top of each other, like the layers in a lasagna.
I used this method in 2010 when I wanted to take out some grass in the front yard and replace it with veggies.
It starts like this: mow the grass or the weeds down as far as you can. Lay flattened cardboard boxes over the grass, right next to each other with the edges touching. Use moving boxes or non-shiny cardboard (no diaper boxes), and take off any tape because it won’t decompose. Spray the boxes with enough water to dampen, and then stomp on them a bit to get them to settle. You don’t want them to blow away before you get to the next step.
On top of the cardboard, put layers of newspaper. Again, don’t use the slick ad pages but just the regular newspaper pages. Arrange them kind of like shingles so no weeds can grow through. Dampen again and stomp–carefully this time, because you’ve got two wet materials to deal with.
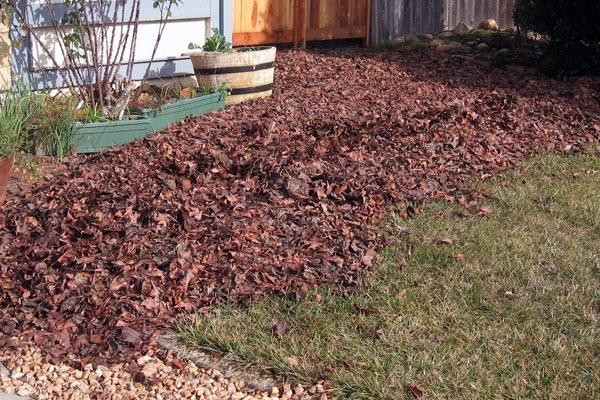
The final step is to cover the newspaper layer with a thick layer (2 inches or more) of shredded leaves, straw, or other “brown” composting material. Then add alternating layers of “green” composting material, like veggie scraps, manure, lawn clippings, etc. and “brown” composting material.
The final step? Wait. It takes several months for the grass to die and for the lasagna layers to break down and turn into rich, usable soil.
Verdict: Lasagna method is easy but takes a lot of time.
Soil Prep: Double Digging
Double digging is a soil preparation technique that most people haven’t heard of. It’s very labor-intensive and is used for plants with deep roots like carrots or beets.
Start by digging a trench 1 foot wide and 1 foot deep. It can be as long as you want it to be. Pile all the dirt you dig up into a wheelbarrow or put it on a tarp out of your way.
Then dig another trench next to the first one, also 1 foot wide and 1 foot deep with the same length. Go back to your first trench, and loosen the soil at the bottom of the trench (so you’re digging the first hole deeper). Put the soil you dug up from the second trench into the first trench.
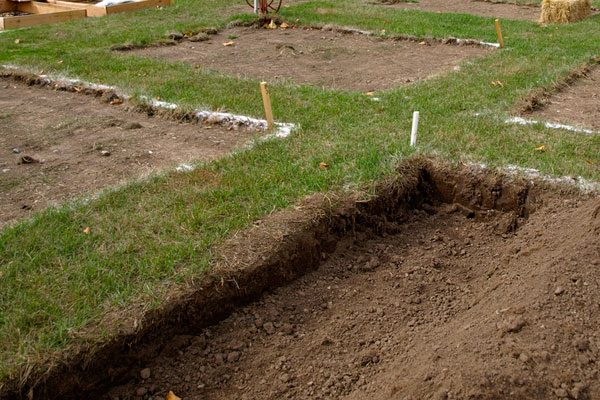
Lather, rinse, and repeat until you have dug all the trenches you need…or until your arms fall off. Fill the last trench with the soil you dug up from the first one.
Verdict: Double digging takes a lot of work and time.
Soil Prep: Tilling
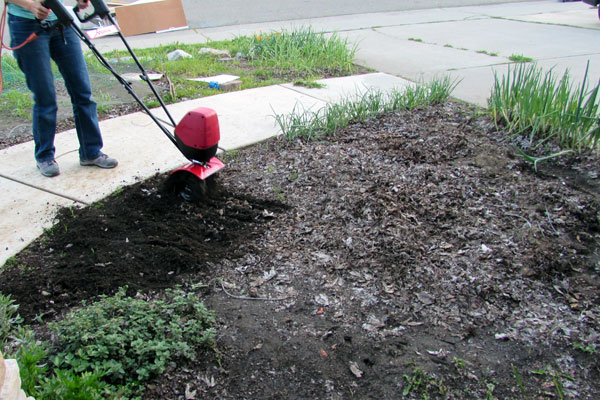
You knew I was going to save my favorite for last, right? I recently tried an electric tiller/cultivator, and and it is amazing for soil prep.
When you think of rototillers, you probably think of heavy, hard-to-manage beasts. That’s what the last one I borrowed was like. It weighed more than me, and Hubby had to use it because I couldn’t control it.
My new electric tiller is light and powerful. It only weighs 21 pounds! It assembles easily—attach the handles to the motor, slide on and secure the blades, and you’re ready to go.
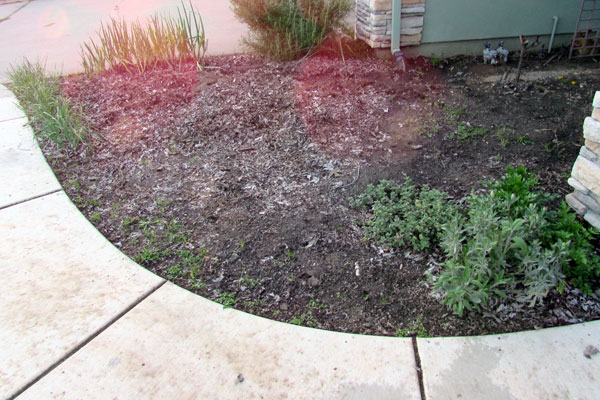
Here’s my strawberry patch, which has been sitting fallow for the winter. The covering of leaves kept the weeds down, but the soil underneath was compacted from all the rain we’ve had lately.
I put the tiller together and got to work. It’s easy to maneuver, so I didn’t accidentally till over my herbs or the shallots that are planted along the walkway. I zipped right around the existing plants and didn’t have any trouble controlling what was tilled and what wasn’t. And look how rich the soil is, since it had the leaves sitting on it all winter!
It would have taken me at least an hour or two to turn all of this soil, but with the electric tiller I had the entire patch turned over in 8 minutes–no joke. It took me longer to assemble than it did to till this whole area! (Assembly took 15 minutes because I couldn’t find the correct size wrench in the garage.)
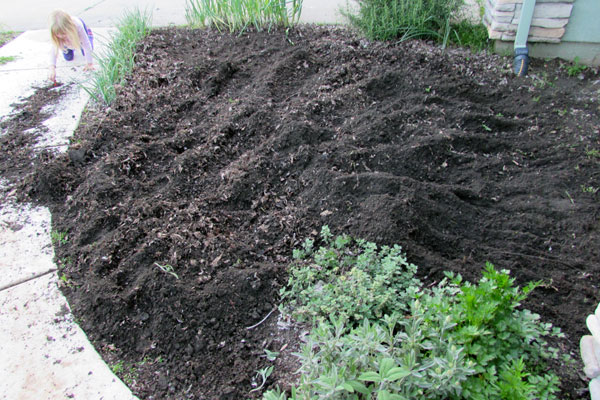
Now I’m going crazy and tilling up every bare spot of dirt I can find. Since we’re replacing our entire front yard with edibles, it couldn’t have come at a better time. It’s going to be so easy to convert our front yard into a vegetable garden this year. If you’re considering a rototiller or just want to make gardening easier, I definitely recommend getting an electric tiller/cultivator.
Verdict: Tilling is fast and easy with an electric tiller.


I’ve been hearing recent advice that one should not till the soil, just add to it. Have you heard that and disagree?
The double digging is quite very laborious especially if a woman is doing the gardening. Do I really have to dig or just layer it without digging?
“…especially if a woman is doing the gardening”? How horribly sexist. I’m offended by the comment that implies a woman is not strong enough to dig some soil. It’s a mindless labor intensive task that ANYONE can do. There are strong women and weak men, and visa versa. Let’s leave gender specific roles out of the equation. You probably would have been better off saying you personally lack the strength to dig dirt, instead of offending women who can do it without any issues.
Thank you so much for such a nice and inforative article about prepare soil. I love gardening. That’s why I’ve read many article on this topic. You shared lots of photo to explain the whole process. That makes your article different from others article. I’ve got huge information from your article. I will apply your suggestion to prepare soil of my garden. thanks again for your effort on this post.