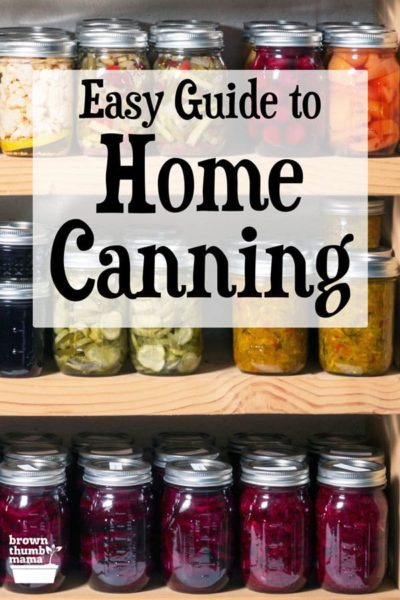
Home canning is a great skill to learn, with lots of benefits! This guide to home canning includes all the basics you need to get started. Stock your pantry with delicious, home-canned jellies, pickles, and vegetables and enjoy their delicious flavors all year long.
The Benefits of Canning
You might be wondering: why should I start making canned food at home? Here are a few benefits of canning that I love:
- It’s budget-friendly. Canning is one of the least expensive ways to preserve food for long term use. It’s also much cheaper to can your own food versus buying canned goods at the store.
- The best ingredients. When you can your own food, you get to choose the ingredients. You know where your food is from – often your own backyard. You know you’re canning fresh, high-quality ingredients in every recipe.
- It tastes better. If you’ve never tried home canned food, you’re in for a treat! Nothing can compare to the taste of homemade jam, pickles, or tomato sauce.
- Self-sufficiency. One of the benefits of canning is that you become more self-sufficient. Having a stock of your own quality canned food is perfect for emergencies when food access is limited.
Home Canning Methods
There are two main types of home canning: the water bath method and the pressure method. Which one you choose depends mostly on the types of food you’d like to can. Here’s a basic run-down of both methods:
The Water Bath Canning Method
The water bath method uses lower temperatures and is ideal for canning acidic foods. The acid combined with time and temperature creates conditions that destroy mold and other pathogens that can contaminate your food.
This method doesn’t use pressure, which makes it ideal for beginners who want to start with something simple. The water bath method works best for foods like:
- Condiments
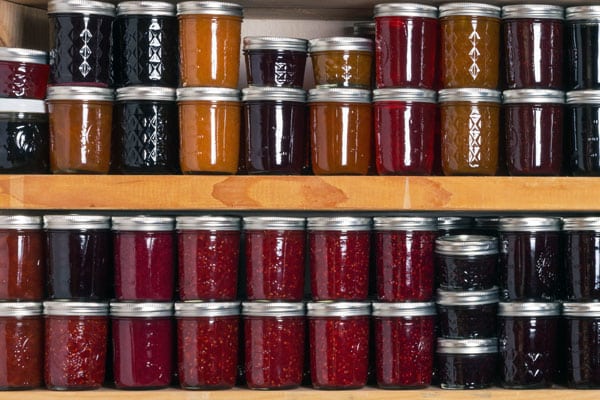
- Jams and jellies
- Salsas
- Tomatoes
- Pickles
- Pie fillings
- Chutneys
- Sauces
The Pressure Canning Method
Pressure canning uses high temperatures to safely preserve low-acid foods. The time and temperature help destroy pathogens, while the pressurized vacuum seal prevents food from spoiling. It’s a little trickier than water bath canning, but it can be easily learned.
The pressure canning method is ideal for canning foods like:
- Beans
- Peas
- Potatoes
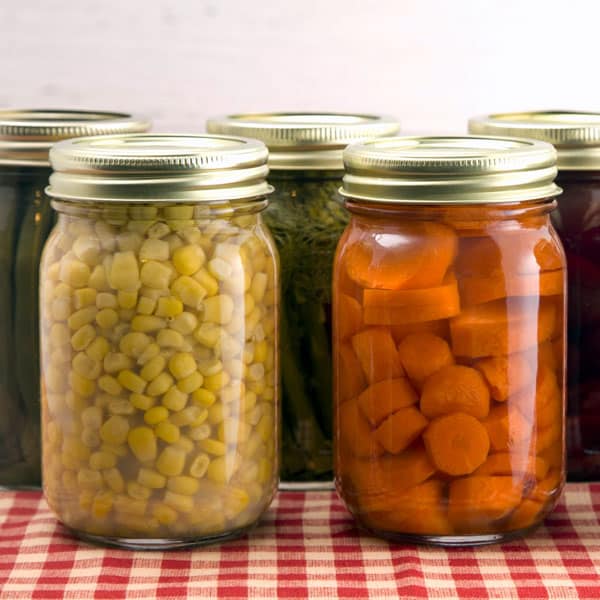
- Corn
- Other low-acid vegetables
- Broth, stock, and soups
- Meat
- Seafood
Supplies You Need to Get Started
Now it’s all about getting the right canning supplies! Here’s everything you need to start your canning journey.
Choosing the Right Canner
First, you need to decide which canning method you’re going to start using. Then you’ll know which type of canner you need:
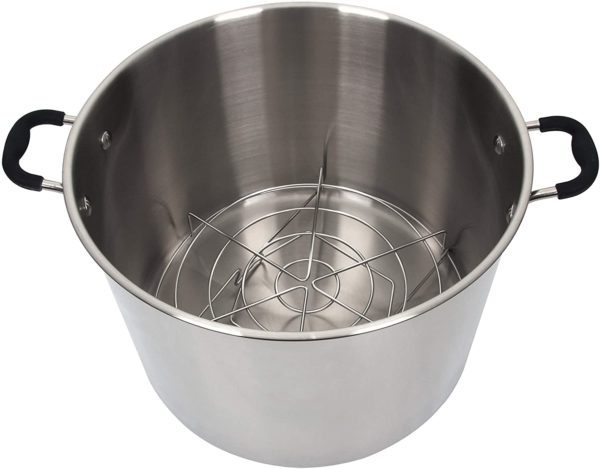
- If you’re going to try water bath canning, you’ll need a water bath canner. This canner is essentially a large stock pot with wire inserts that help you position jars safely. A quality stainless steel canner, like this, will last you for years.
- For pressure canning, you’ll need a pressure canner. These have a lid with a seal, a pressure gauge, and a vent so you can control the canning process. Modern pressure canners are much safer than the ones our Grandmas used. Note: Please don’t use a pressure cooker (like an Instant Pot) for pressure canning. Pressure cookers are not precise enough to safely can foods, and botulism can kill you. Don’t take the chance!
Pick Your Canning Jars
Next, you’ll be choosing your canning jars. Mason jars are one of the most popular kinds (and there are so many ways you can use them!). This is pretty straightforward, but you should know a few things:
- Choose jars that are made for canning. These jars are specifically made to handle the heat and pressure of canning. I use Ball canning jars because they’re well-made and durable.
- Wide-mouth jars have a large opening and are great for larger foods like peach halves, pickles, beets, etc. They’re also super easy to clean!
- Regular-mouth jars have a smaller opening and are ideal for jams, jellies, sauces, salsas, and similar recipes.
- What jar size should you choose? There are a few different jar sizes to choose from, and your recipe will tell you which to use. A set of 8-ounce (half-pint) and 16-ounce (full pint) jars is a great place to start. Before you know it, you’ll start getting fancy jars like this for gift-giving!
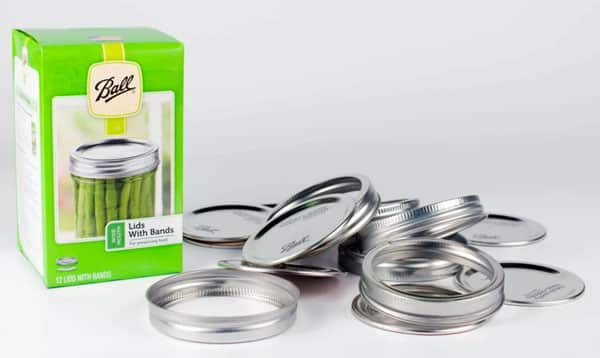
Tip: You need special two-piece lids for canning that include a band and lid. If you’re buying new jars, many will come with these lids. If you’re reusing jars, you’ll need to purchase canning lids separately.
Canning Tools
A canning kit like this will have all the tools you need to make your job easier. The jar lifter will help you safely lift your canning jars out of your canner. A wide-mouth funnel eliminates most of the hassle of filling jars. The bubble popper makes sure there are no bubbles in your jars before sealing.
Extra Canning Supplies
These aren’t mandatory, but I’ve found these canning supplies helpful:
- A good ladle with a pouring spout
- A chopping or dicing gadget
- A food processor
- Dissolvable mason jar labels
Home Canning Safety Tips
Home canning is a great way to preserve food, but there are a few things you need to know. Techniques like oven canning and open-kettle canning are not safe (even if your Grandma used them). Read the latest scientific instructions for home canning here.
Here’s an overview of canning safety tips:
- Choose a high-quality canner. Especially for pressure canning, which requires the seal, vent, and gauge all to be in good condition and working properly.
- Always use pressure canning for low-acid foods. This protects you from botulism.
- Make sure your jars and lids are in good shape. No dents or dings or misshapen lids allowed! A good seal keeps your food fresh.
- Clean all supplies before getting started. This means hands, counters, canners, jars, lids, utensils, etc.
- Follow the exact instructions for each canning recipe. Different foods require different cooking times and temperatures for proper canning. Pay attention to each unique recipe and follow it closely. The Ball Complete Book of Home Preserving is a good place to start.
- When pressure canning, always let the pressure go to zero. At the end of the pressure canning process, you need to allow time for the steam to vent and all the pressure to release from your canner. Stay safe and don’t rush this part!
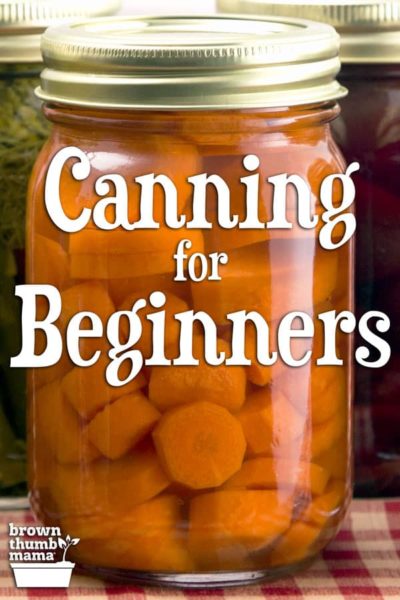
Easy Canning Recipes for Beginners
Ready to get started? Here are some great canning recipes that are easy to make:
- Apple-Mint Jelly with Fresh Mint
- How to Can Applesauce
- Traditional Orange Marmalade
- Tomato & Pepper Salsa
- Pressure Canned Carrots
- Simple Canned Tomatoes
- How to Pressure Can Broth or Stock
- Pressure Canning Dried Beans
Watch out–canning is addictive! Once you’ve started, you’ll turn into a crazy canning lady like me.