It’s easy to grow snow peas in your garden! Here’s everything you need to know about planting and growing snow peas. Includes recommended varieties and planting tips.
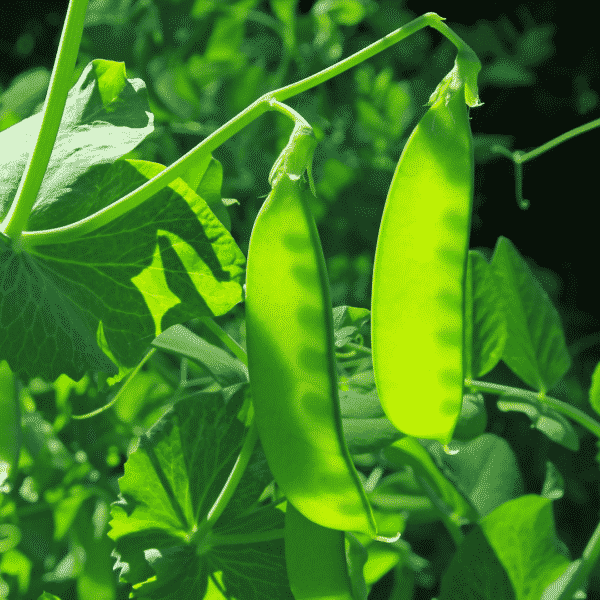
Let’s say it: Winter is a drag for gardeners. It’s too wet and cold to get out and actually do any gardening, and there isn’t much growing anyway.
And you can only read seed catalogs for so long before you go stir crazy! Thank goodness for snow peas, so we can get a little bit of greenery and fresh vegetables even in the coldest parts of winter.
Snow peas are a great vegetable to grow with your kids, because they’re mild in flavor and fun to eat. The kids will sit in the garden and eat them right off the plant, just like they do with strawberries.
~~~~~~~~~~~~
Are you a brand new gardener? Not sure what to plant and how to plant it? I can help.
Check out my Ultimate Beginning Gardener Bundle and you’ll have a great garden in no time!

~~~~~~~~~~~~
Growing Snow Peas: Quick Start Guide
| Common name(s) | Snow peas |
| Scientific name | Pisum sativum var. macrocarpum |
| Sun | Full sun |
| Water | Frequent |
| Soil | Well-drained, fertile |
| Hardiness | Cool season annual; US zones 2-11 |
| Fertilizer | Every 2 weeks |
| Container size | 5 gallon or larger |
| Pests | Cutworms, aphids, slugs/snails |
| Diseases | Downy mildew, root rot, fusarium wilt |
| Days to harvest | 60 days |
Types of Pea Plants
What’s the difference between regular (shelling) peas, snow peas, and snap peas?
- Shelling peas (Pisum sativum) are taken out of the pods (shelled) and the pods are not eaten. They’re also called English peas or garden peas, and are usually cooked before eating.
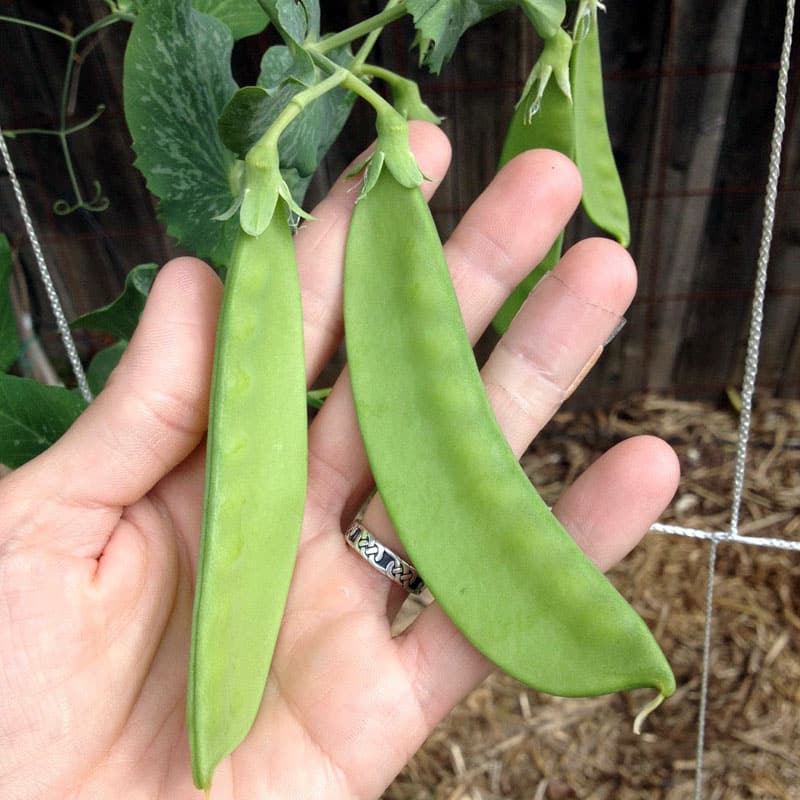
- Snow peas (Pisum sativum var. macrocarpum) are very flat, with small peas inside. They are eaten whole (pod and all) can be consumed raw or cooked, like in homemade fried rice.
- Snap peas, or sugar snap peas, (Pisum sativum var. macrocarpum) are a cross between snow peas and shelling peas. Like snow peas, they are eaten pod and all. Snap peas can be cooked or eaten raw.
We’ve tried several varieties of snow peas over the years, and our favorite is Oregon Sugar Pod II. It’s resistant to mosaic virus and powdery mildew, and it often sets doubles (you get two pea pods from each node). Because peas are susceptible to many different plant diseases, always look for a disease-resistant variety.
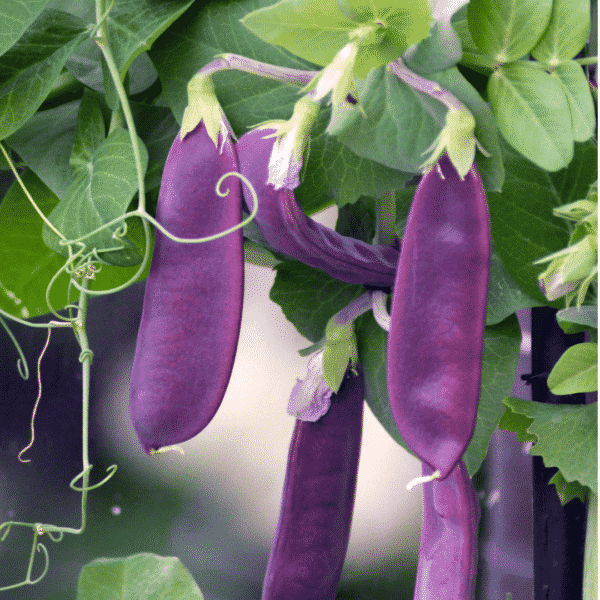
The kids love Sugar Magnolia snap peas, which have beautiful, edible purple pods. If you’re looking for a shelling pea, try Progress #9–a funny name for a good producer (each pod has from 7-9 peas in it).
Sun, Water, Soil
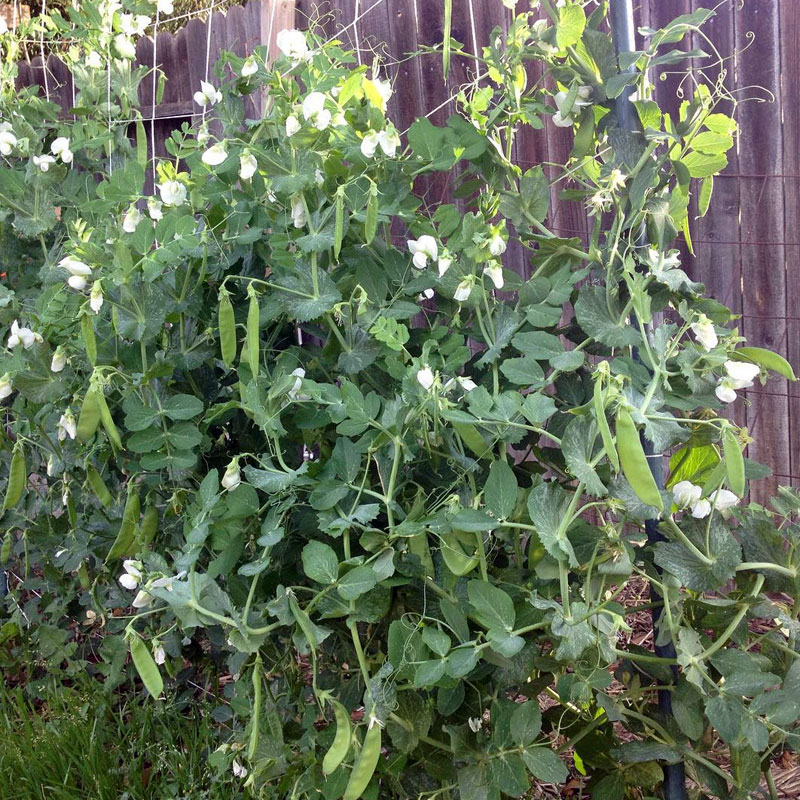
Even though snow peas grow in the fall and winter (hence the name snow peas), they still need several hours of sun each day. They won’t grow well in full or partial shade.
Snow peas need fertile, loose soil with plenty of phosphorus and potassium (not nitrogen, which they grab from the air–really!). I like to add a bit of E.B. Stone Sul Po Mag and Bone Meal when planting, to provide these nutrients. Later in the season, they’ll benefit from a bit of homemade compost added to the soil.
Consistent water is important for snow peas. Protect the moisture in the soil by covering it with a natural mulch, like straw or shredded leaves, after the seeds have germinated. Always water the vines at the base instead of wetting the leaves–this will help prevent powdery mildew.
Most varieties of snow peas need a trellis for the vines to climb on. This doesn’t have to be fancy; you can use sticks and twine or even let them grow up a tomato cage.
You can grow snow peas in containers. Use a planter that’s at least 5 gallons and has good drainage. Either add a trellis or use a container that has a trellis. Container plants should only be grown in container soil (not garden soil), and container soil doesn’t have the rhizobium bacteria that helps peas be productive. You can buy soil inoculant powder, which adds these microorganisms to your container soil.
Planting & Spacing
Snow peas like it cold! Plant the seeds 4-6 weeks before your average last frost date, or when the soil is consistently over 40F. (50-60F is better). Not sure when to plant? A vegetable planting schedule for your area will help with this.
While it’s tempting to plant them an inch or two apart, snow peas will grow better when spaced 3-4 inches apart. There are a few reasons for this:
- When the plants are too crowded, they compete for soil nutrients.
- If one of the plants gets powdery mildew or is infested with pests, the problem will spread quickly between plants.
- If they’re planted too close together, you’ll end up with a giant tangle of plants on your trellis and will not be able to harvest effectively. Ahem.
Pests, Diseases, Companion Plants
There are only a few pests you have to watch out for when growing snow peas. Snails and slugs love to munch on peas, but there are several natural options to get rid of them.
Cutworms can munch your seedlings, so I like to use little TP tube forts around the seeds when planting.
Aphids could be a concern, but I don’t usually see them until the weather gets warmer. Here are lots of natural ways to get rid of aphids.
Because you’re growing snow peas in a cool, wetter time of year, watch out for problems like root rot, fusarium wilt, and powdery mildew. Be attentive to watering and plant spacing–if plants are crowded, mildew can spread quickly.
When you’re gardening, some plants grow better together and some should be kept apart. I learned this from Carrots Love Tomatoes: Secrets of Companion Planting for Successful Gardening, which is a must-read for vegetable gardeners.
Peas grow well with carrots, radishes, corn, beans, potatoes, and cucumbers (they can share a trellis). They do not like to be planted near onions or garlic.
Harvesting
Snow peas are ready to harvest relatively soon after planting–most varieties begin producing in about 60 days.
You can pick them anytime after the peas start forming, when the pods are a couple of inches long. Don’t wait until the peas get too fat. They taste best (and are at their most tender) when the peas are just little bumps inside the pod.
Pick your peas every few days. The vines are delicate, so hold the vine with one hand and pull the pod off with the other. Insert directly into mouth. Do not pass go. Do not collect $200. 😉 If any peas make it into the kitchen, add them to loaded fried rice, stir-fry, or dip them in hummus or ranch.

