Do you find that you never have enough thyme? That thyme is just running through your hands? Great news, my friends. You can make more thyme without any special equipment or tools. Soon, you’ll have more thyme than you know what to do with!

All puns aside, it truly is easy to propagate thyme from cuttings—whether you’re growing it in your garden, in raised beds, or indoors in pots. You don’t need any special tools or equipment, just these tips.
An important note! There are two main types of thyme—ornamental and culinary. I’m growing culinary thyme (Thymus vulgaris) in my front yard garden, and am replacing the lawn with ornamental creeping thyme (Thymus pulegioides). These pictures are of culinary thyme, but the process works the same for either type.
Speaking of propagating—you’ll remember that when we grew basil from cuttings, we put the stems in water.
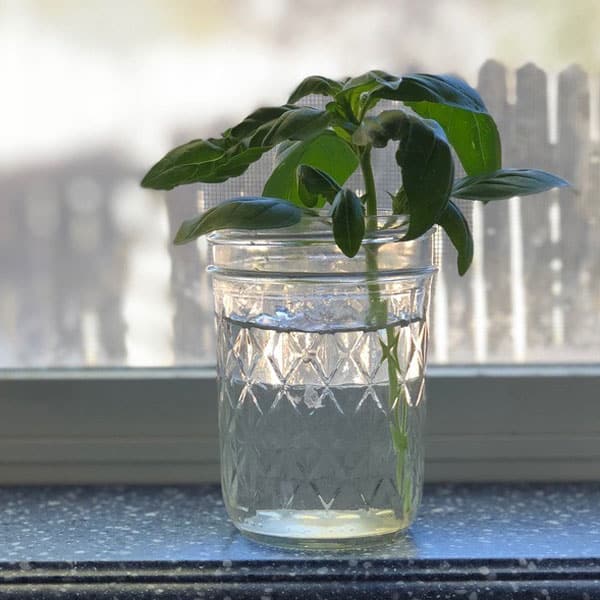
That works well because basil stems are thicker and stronger than thyme stems, which are thin and woody. Because thyme is such a delicate plant, we’ll root the thyme stems in a specific soil mix.
And speaking of soil—please don’t scoop up a bunch of garden soil and attempt to start your cuttings in it. Even the most carefully tended garden soil could contain microbes, bacteria, traces of animal poo, etc. All of those will make it hard for your thyme to grow successfully.
When rooting cuttings, you want to give them the best opportunity for growth possible. This means using scrupulously clean tools, containers, and fresh seed-starting soil (either purchased or homemade). Let’s get started!
Propagating Thyme: Supplies
Here are the supplies you’ll need to propagate thyme:
Healthy thyme plant
Clean, sharp scissors or pruners (I recommend these Felco snips)
Seed starter trays (I used these biodegradable peat pots)
Organic fertilizer (I use EB Stone Sure Start)
Propagating Thyme: Instructions
Dampen your seed-starting soil and place it in the container of your choice.
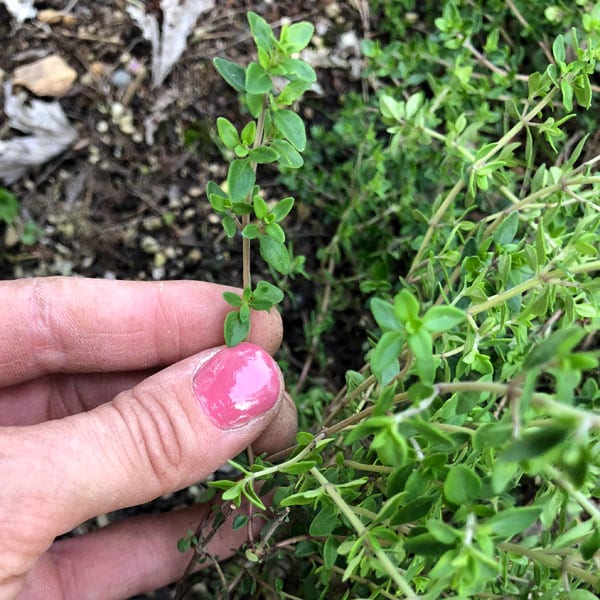
Choose a long stem with healthy leaves, and snip it as far down as you can. You want to end up with a nice, long cutting to put in your soil.
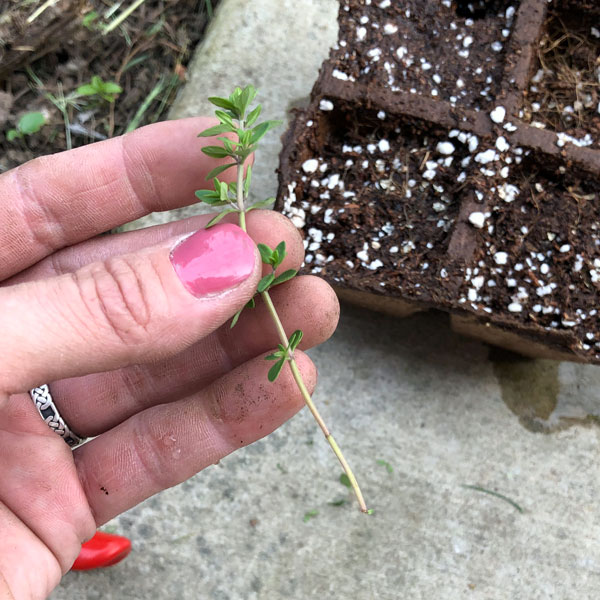
Take off the bottom set of leaves and gently poke the cutting into the soil.
Lather, rinse, and repeat until you’ve started as many cuttings as you like (I decided on 8).
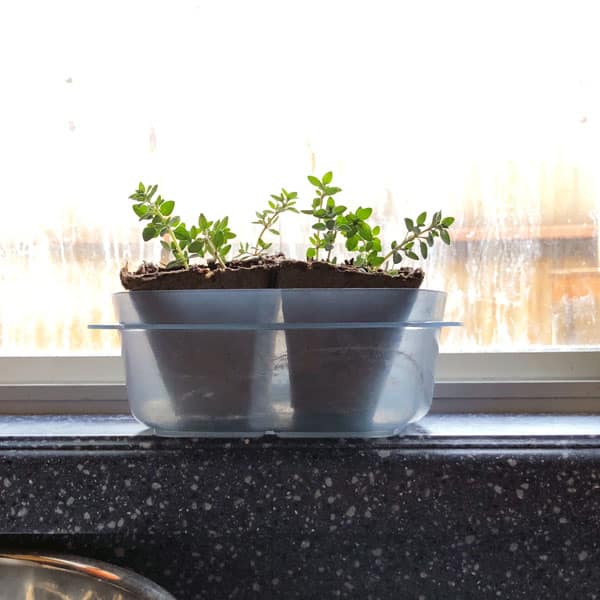
Place your transplants in a warm and sunny spot, like the kitchen window, and keep the soil damp.
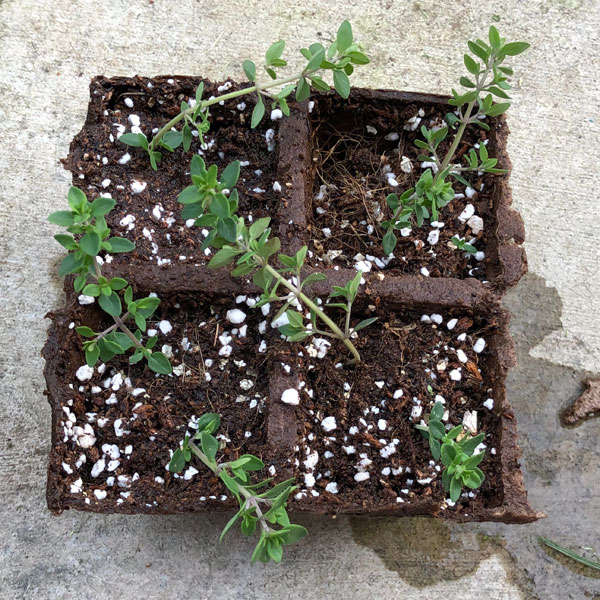
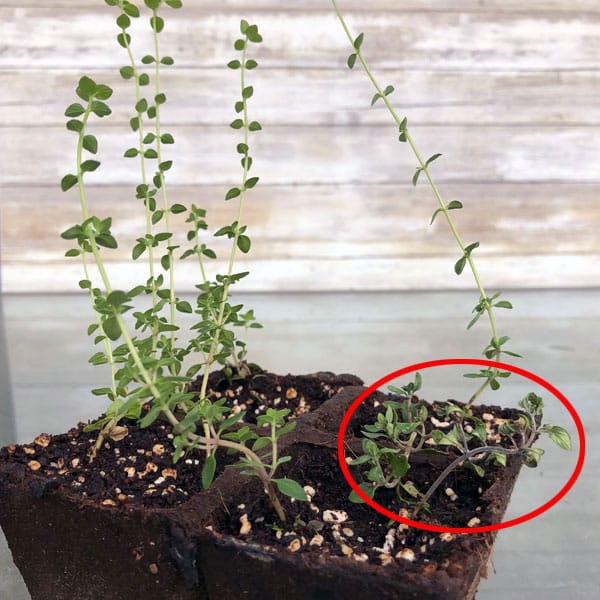
After about two weeks, you’ll see that some of your cuttings have grown and some have not. See how most of them are soooo much taller than they were? Those have rooted and are ready to transplant. The ones that are circled didn’t take root, so off to the compost bin they go.
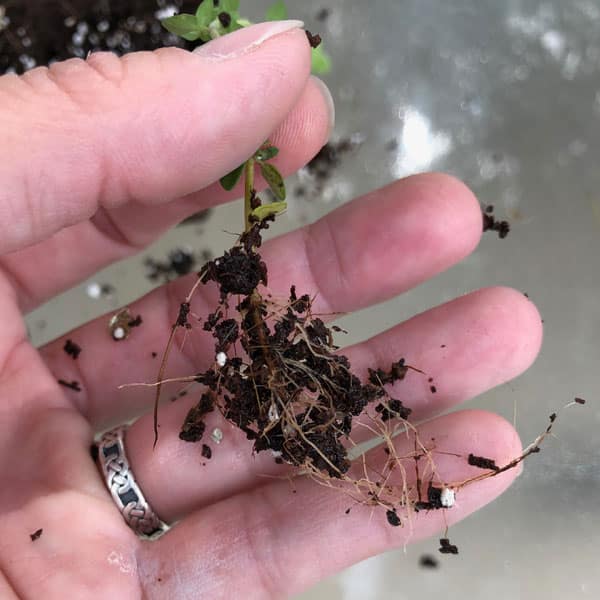
Look at those happy roots! Gently remove your thyme babies from the container and plant them in a pot or outside in your garden. Give them a little extra TLC with some EB Stone Sure Start fertilizer.
How about that? It really IS possible to make more thyme. Don’t let anybody tell you otherwise! 😉
Recipes to help use up your bountiful thyme harvest:
What’s your favorite recipe using thyme?